WALKTHROUGH

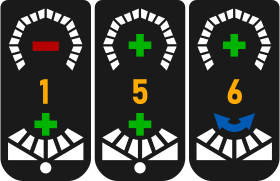
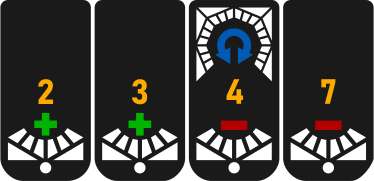
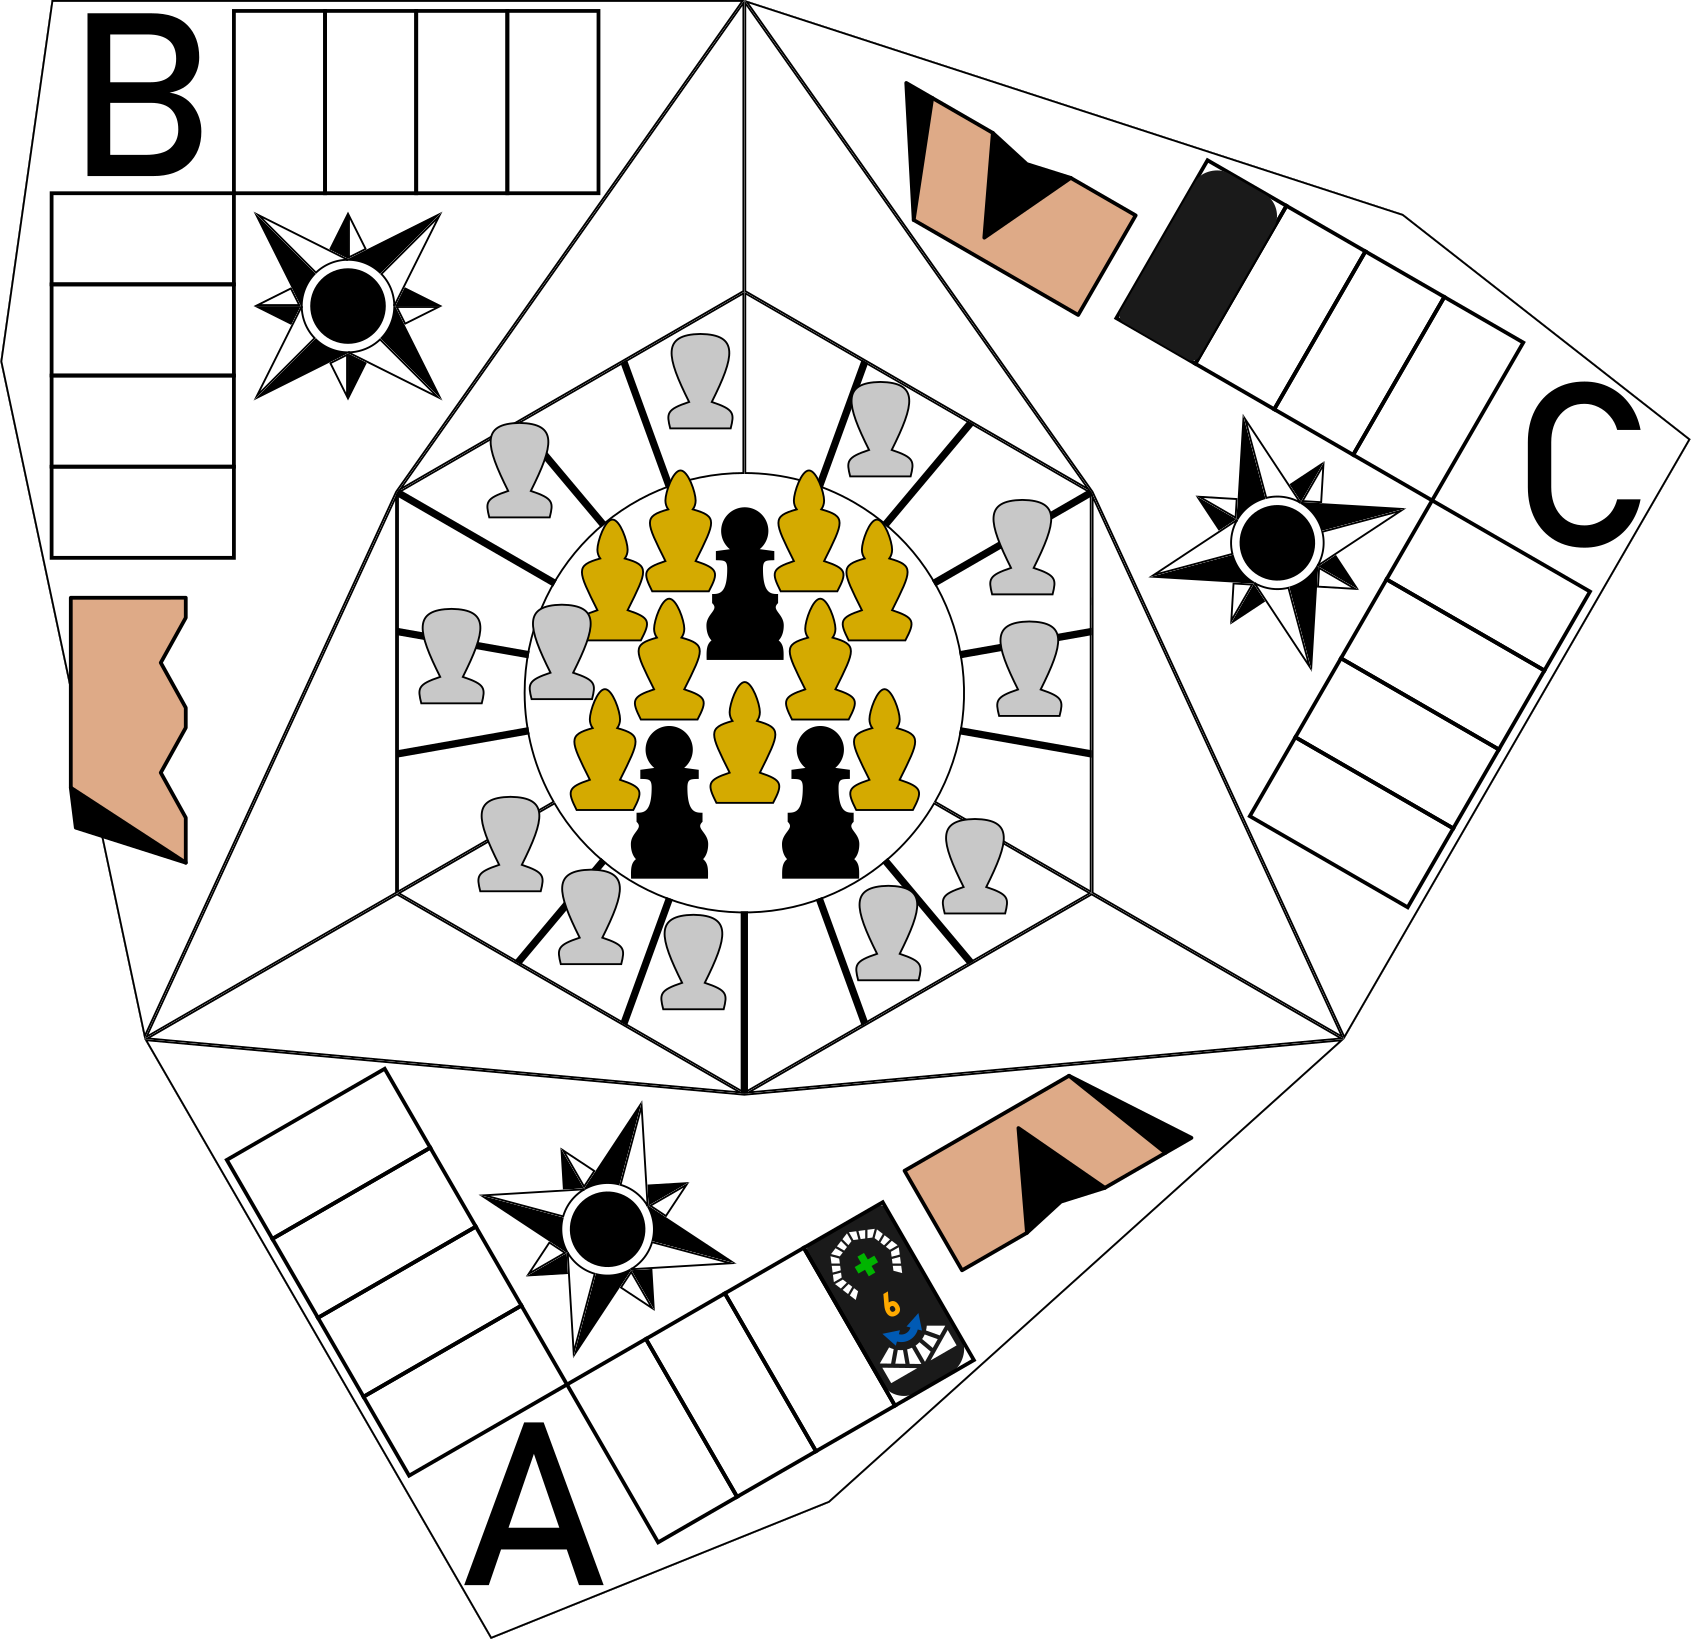
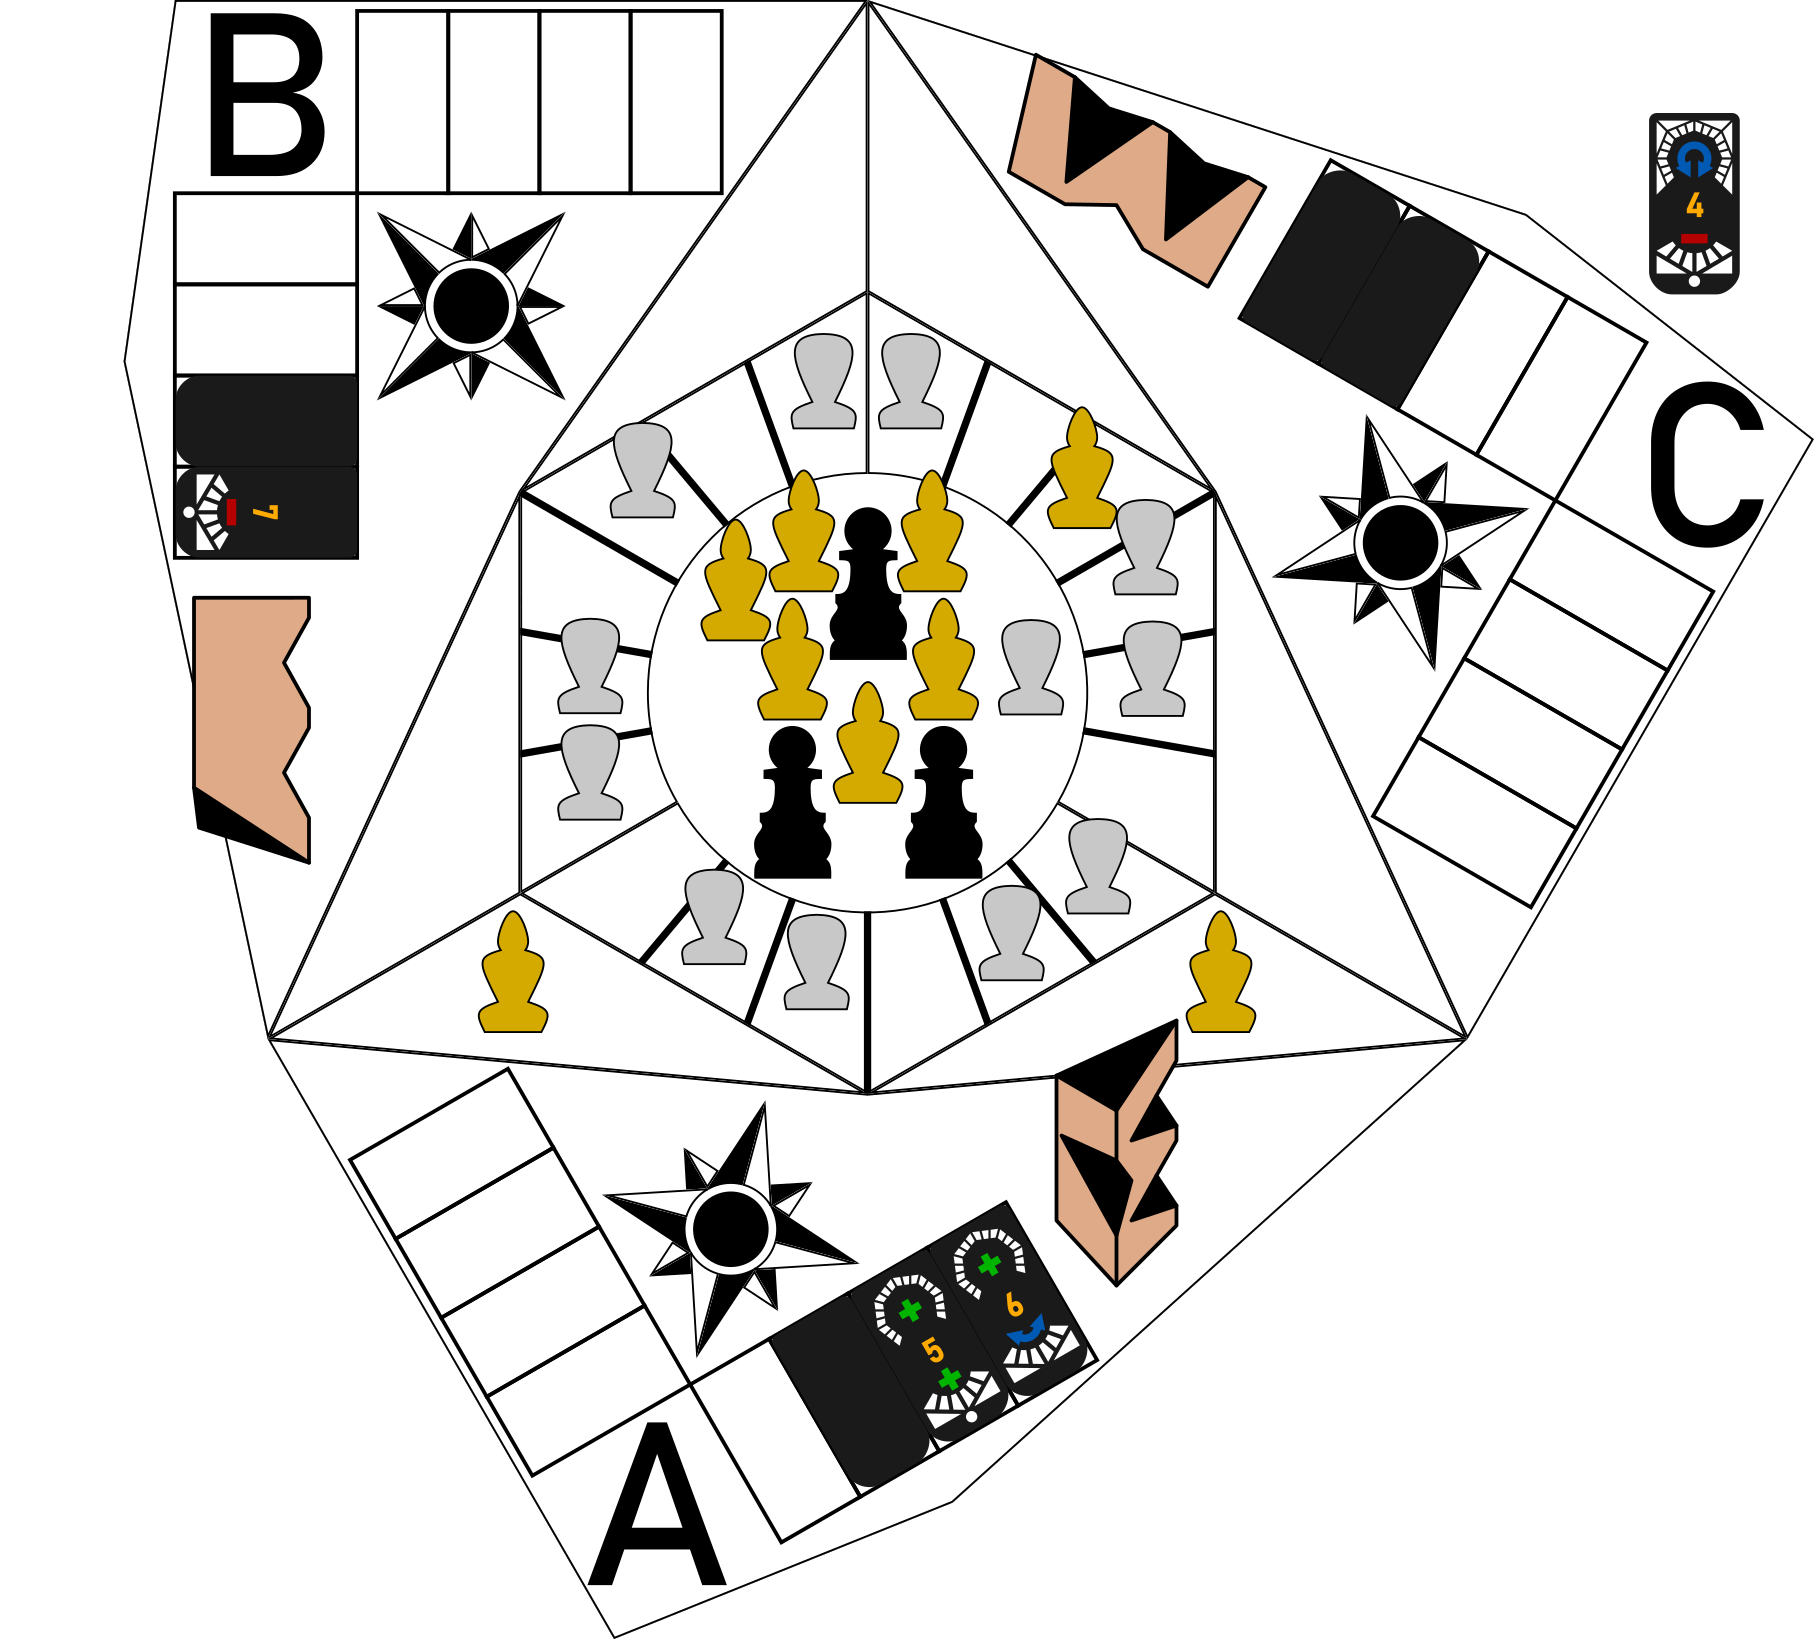
A step-by-step guide to the key principles of KRED. Set up the 3-player board and determine a player A, B and C. Each player takes the following tiles. Remember that tiles are not played face-up. In an actual game, no tile would be visible to other players unless the receiver refused it or another player challenged it.
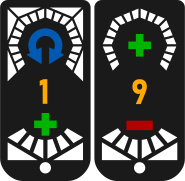
Player B Tiles

Tiles for Player B

Player C Tiles

Tiles for Player C

Player A Tiles

Tiles for Player A

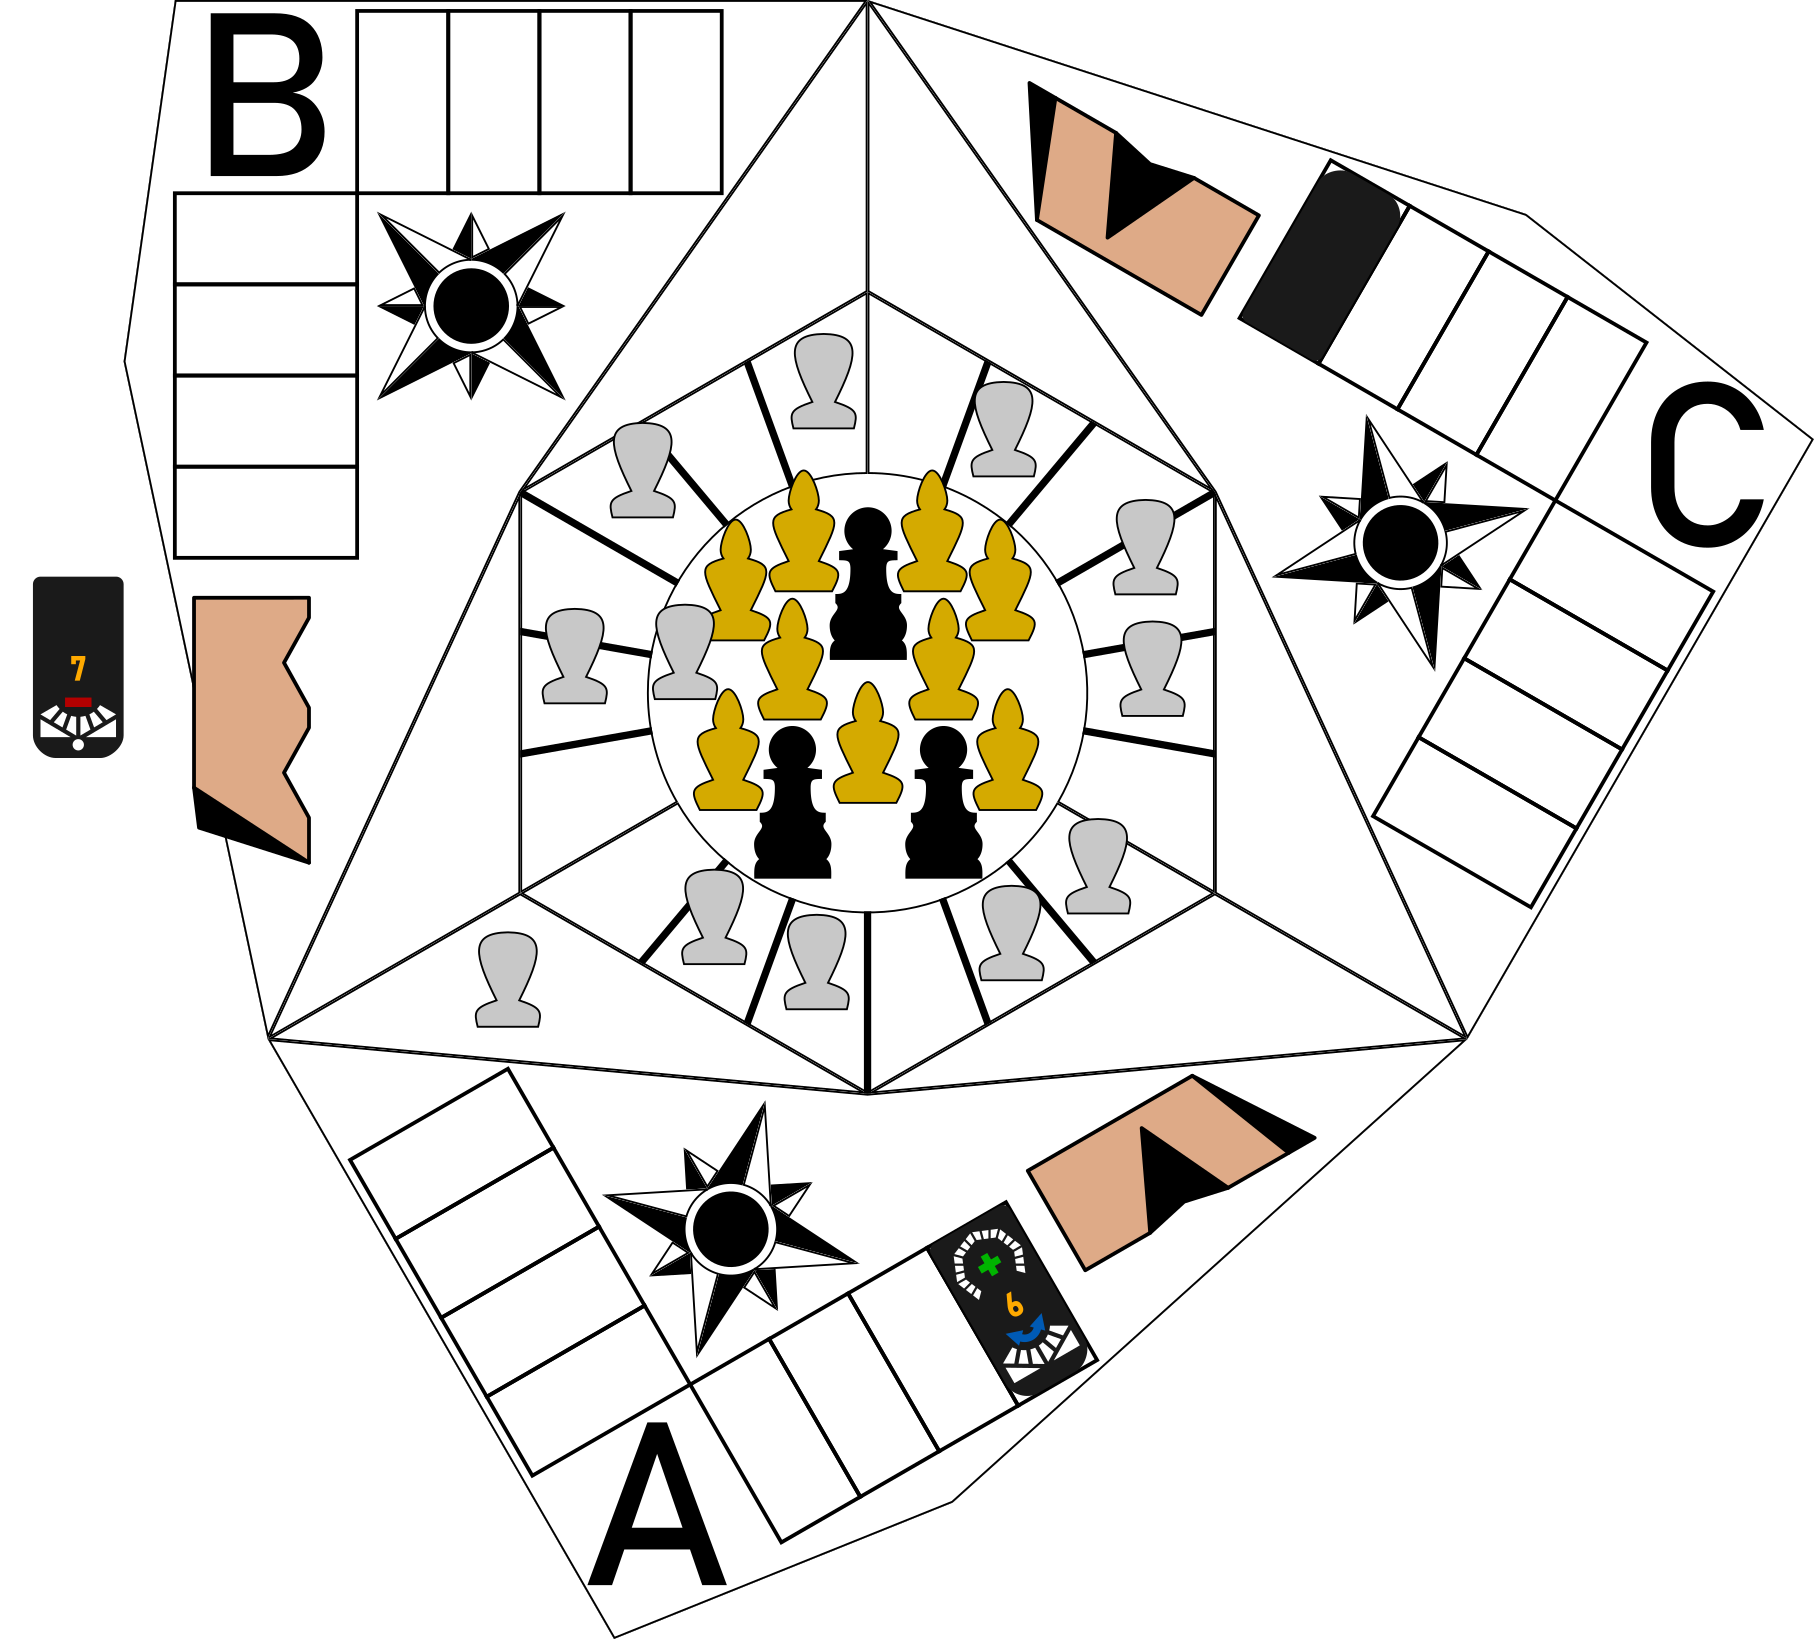
Move 1

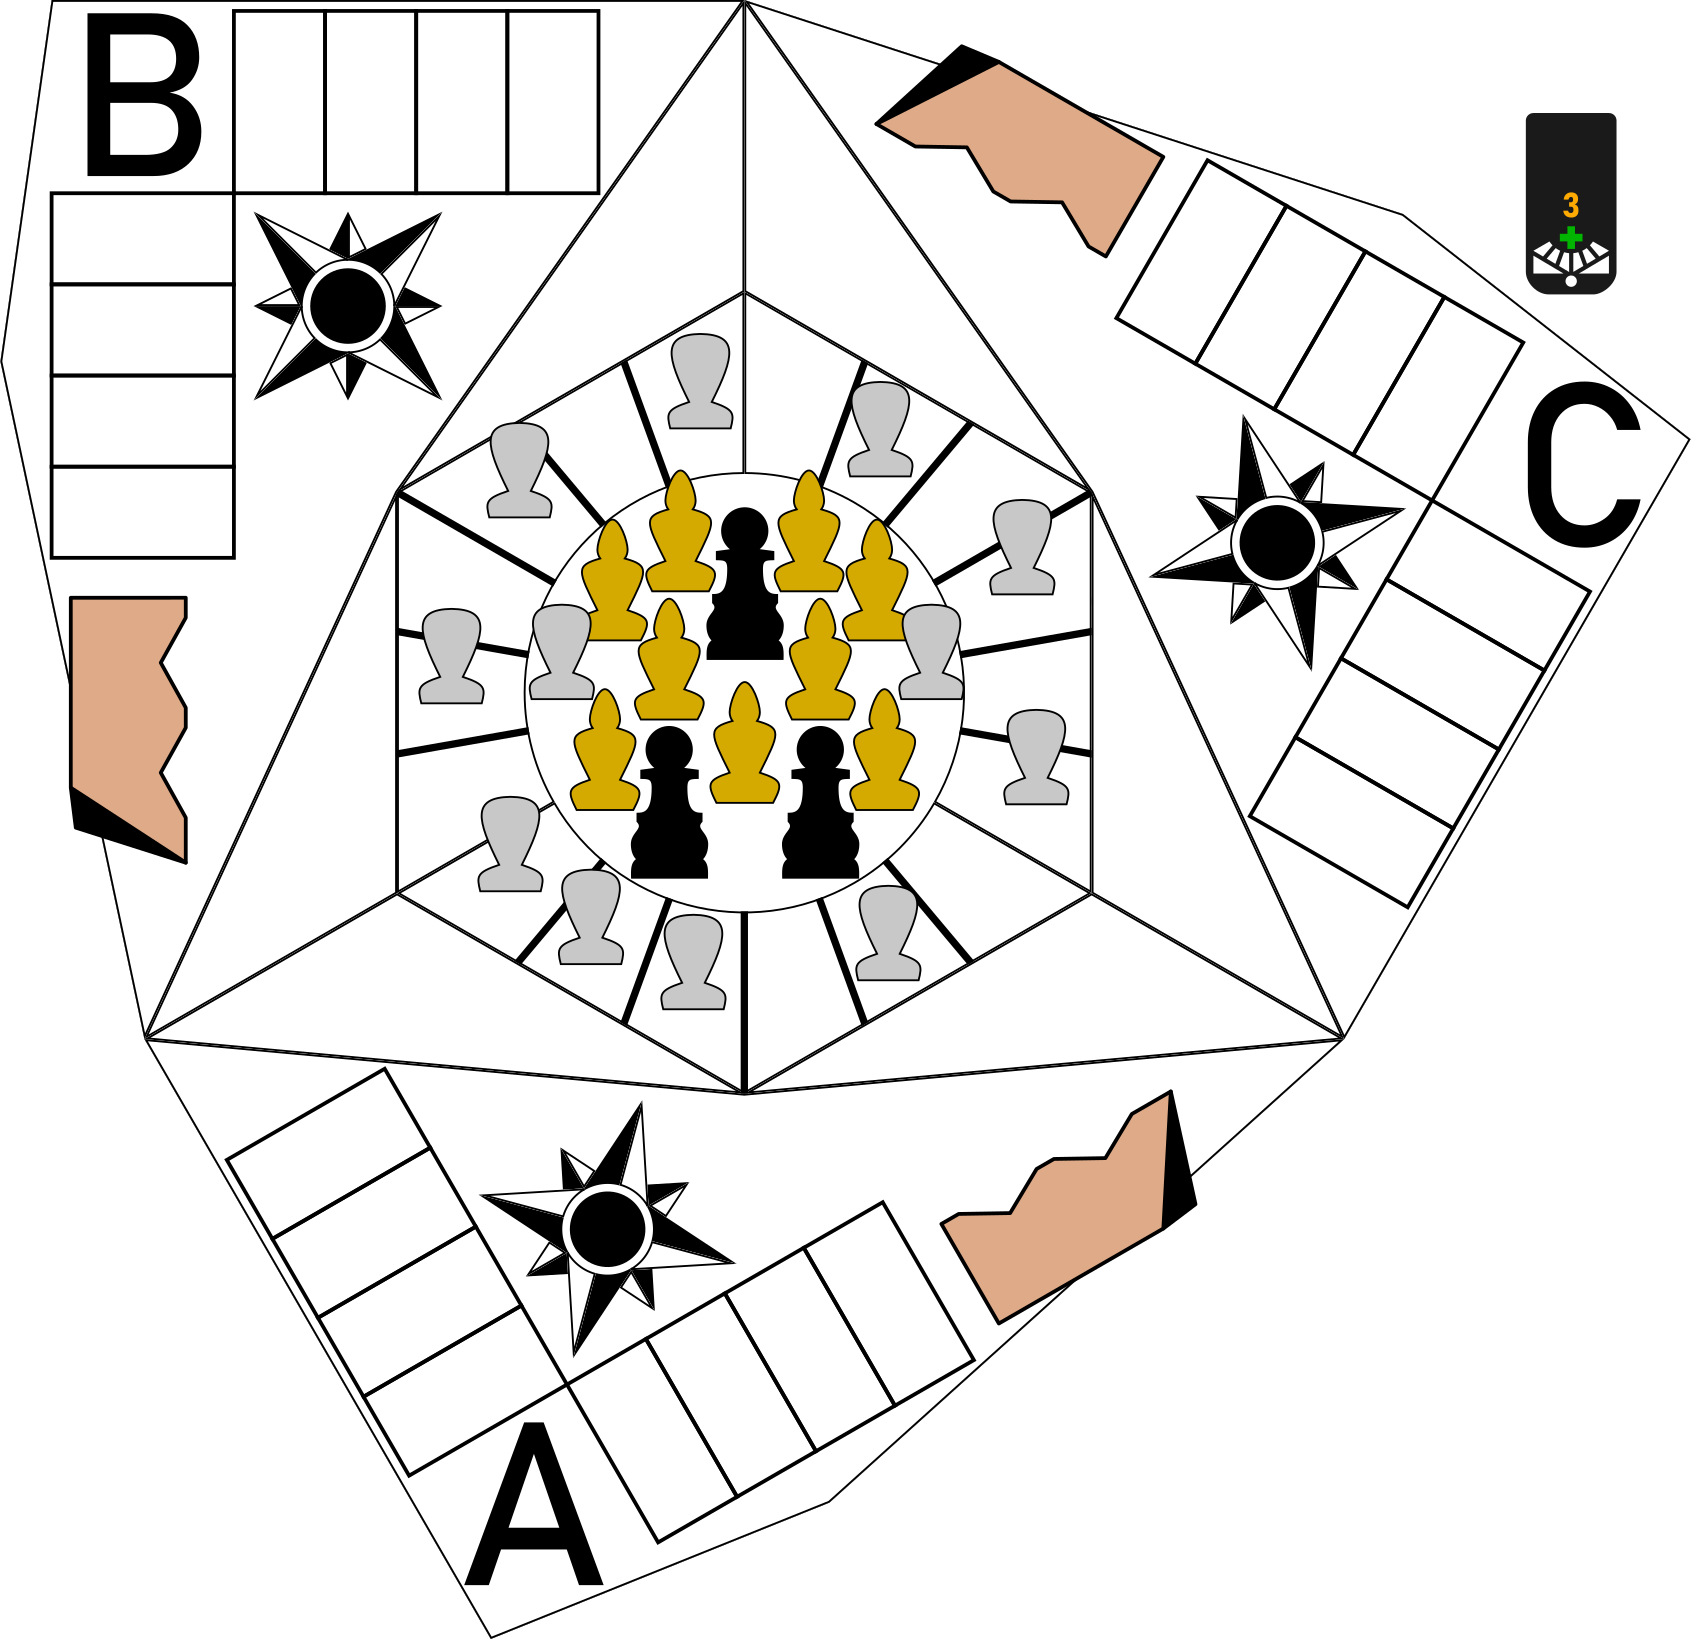
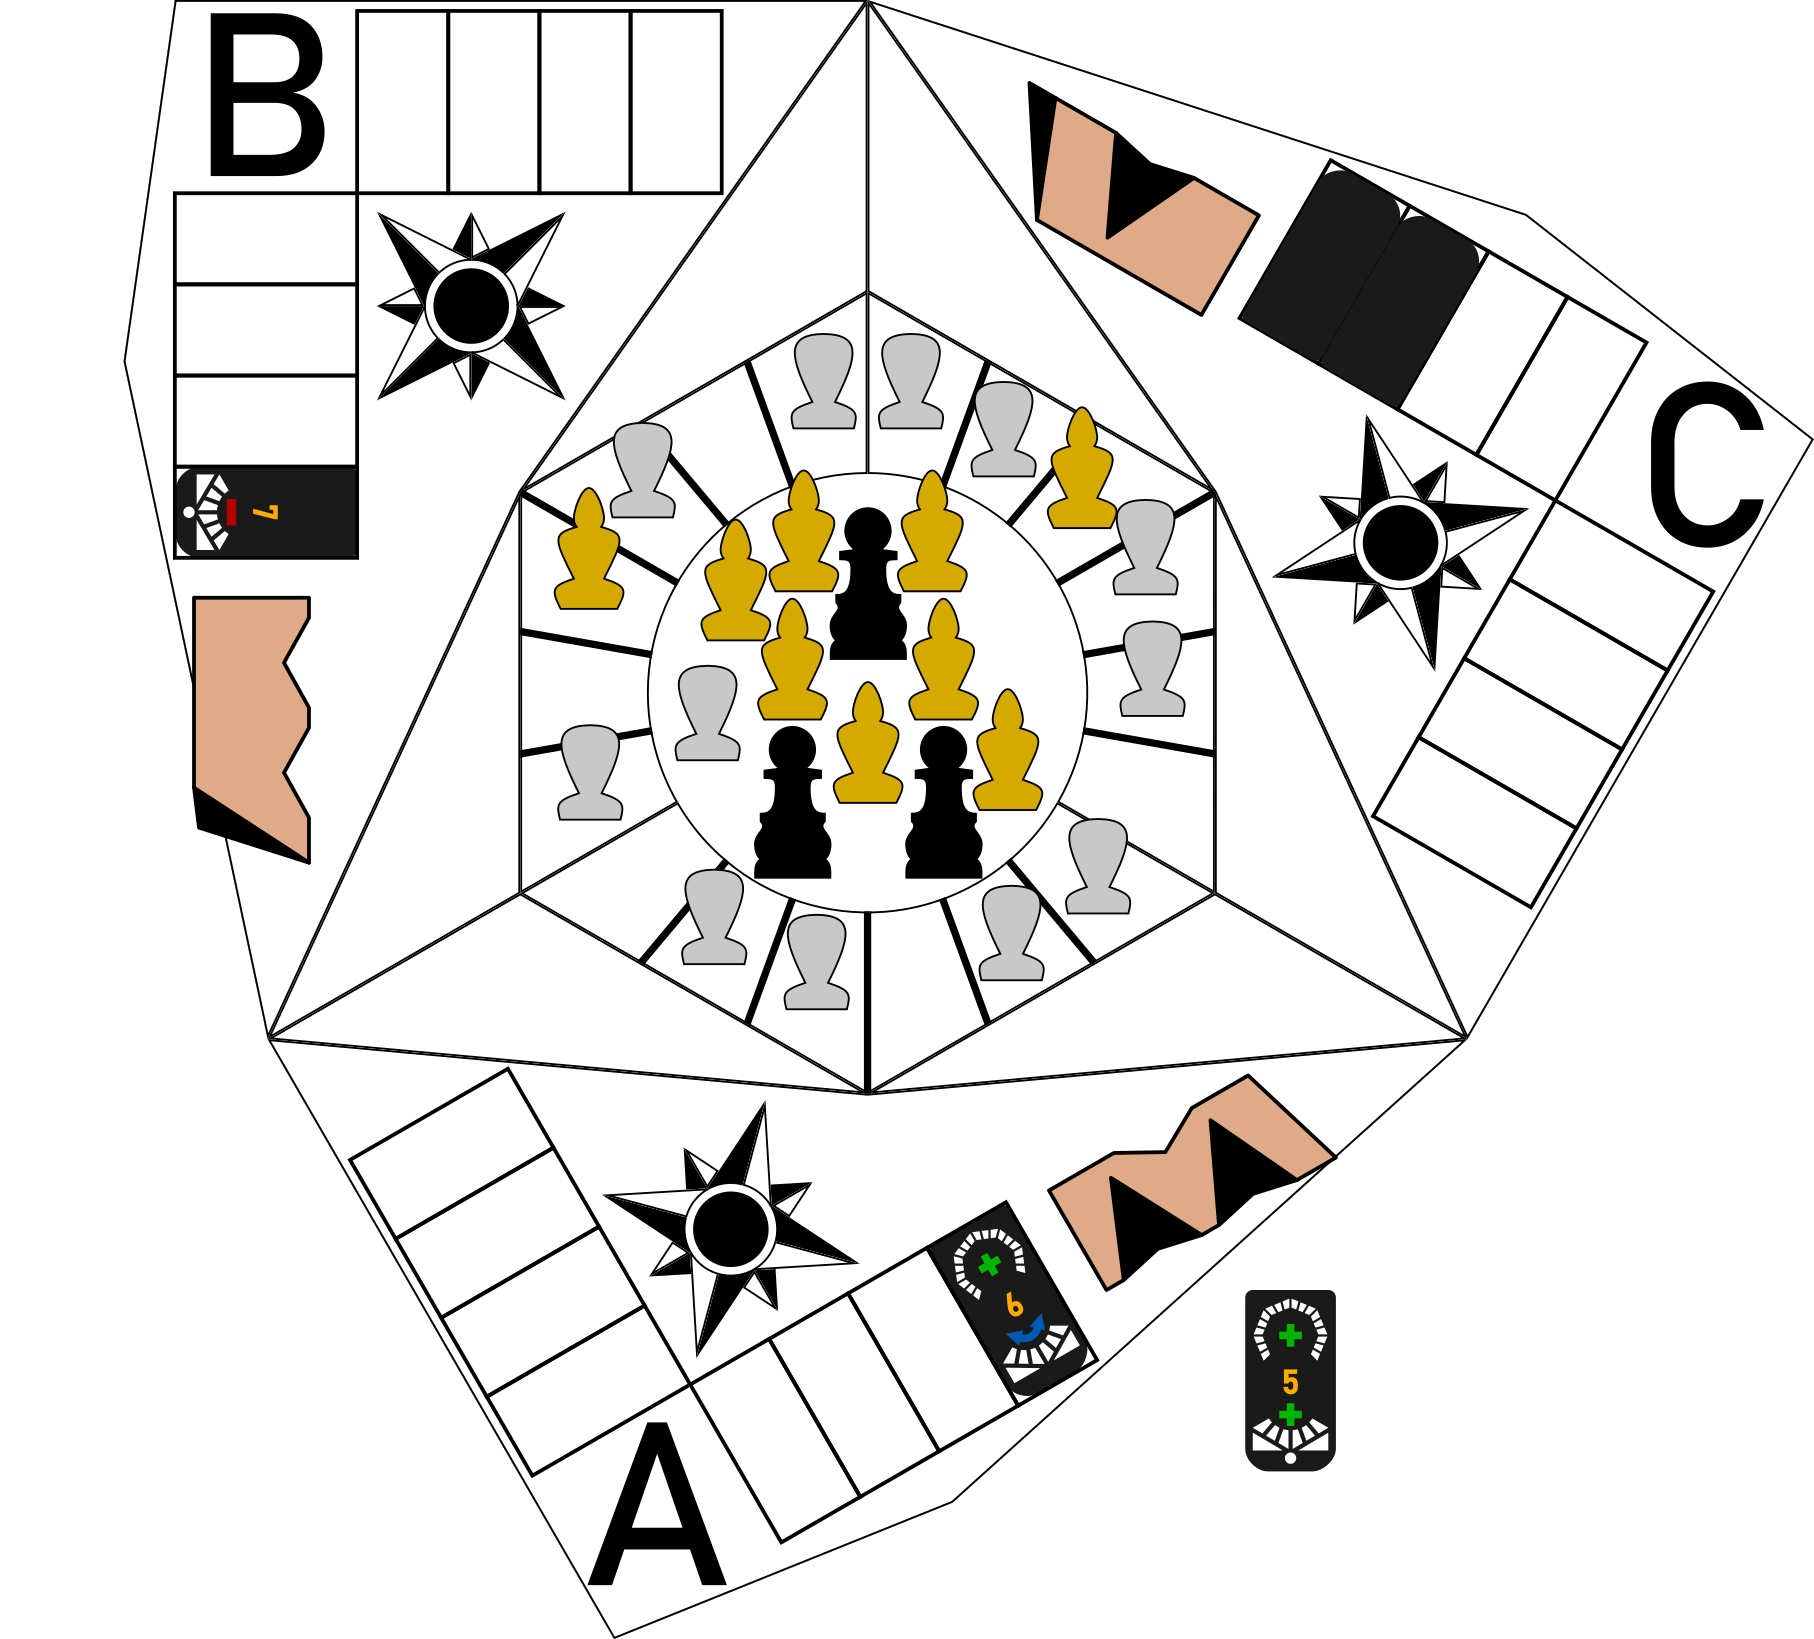
A advances a Mark to seat 2 and passes a tile to C. C accepts the matching tile and B does not challenge: a basic play.

Move 1 Illustration
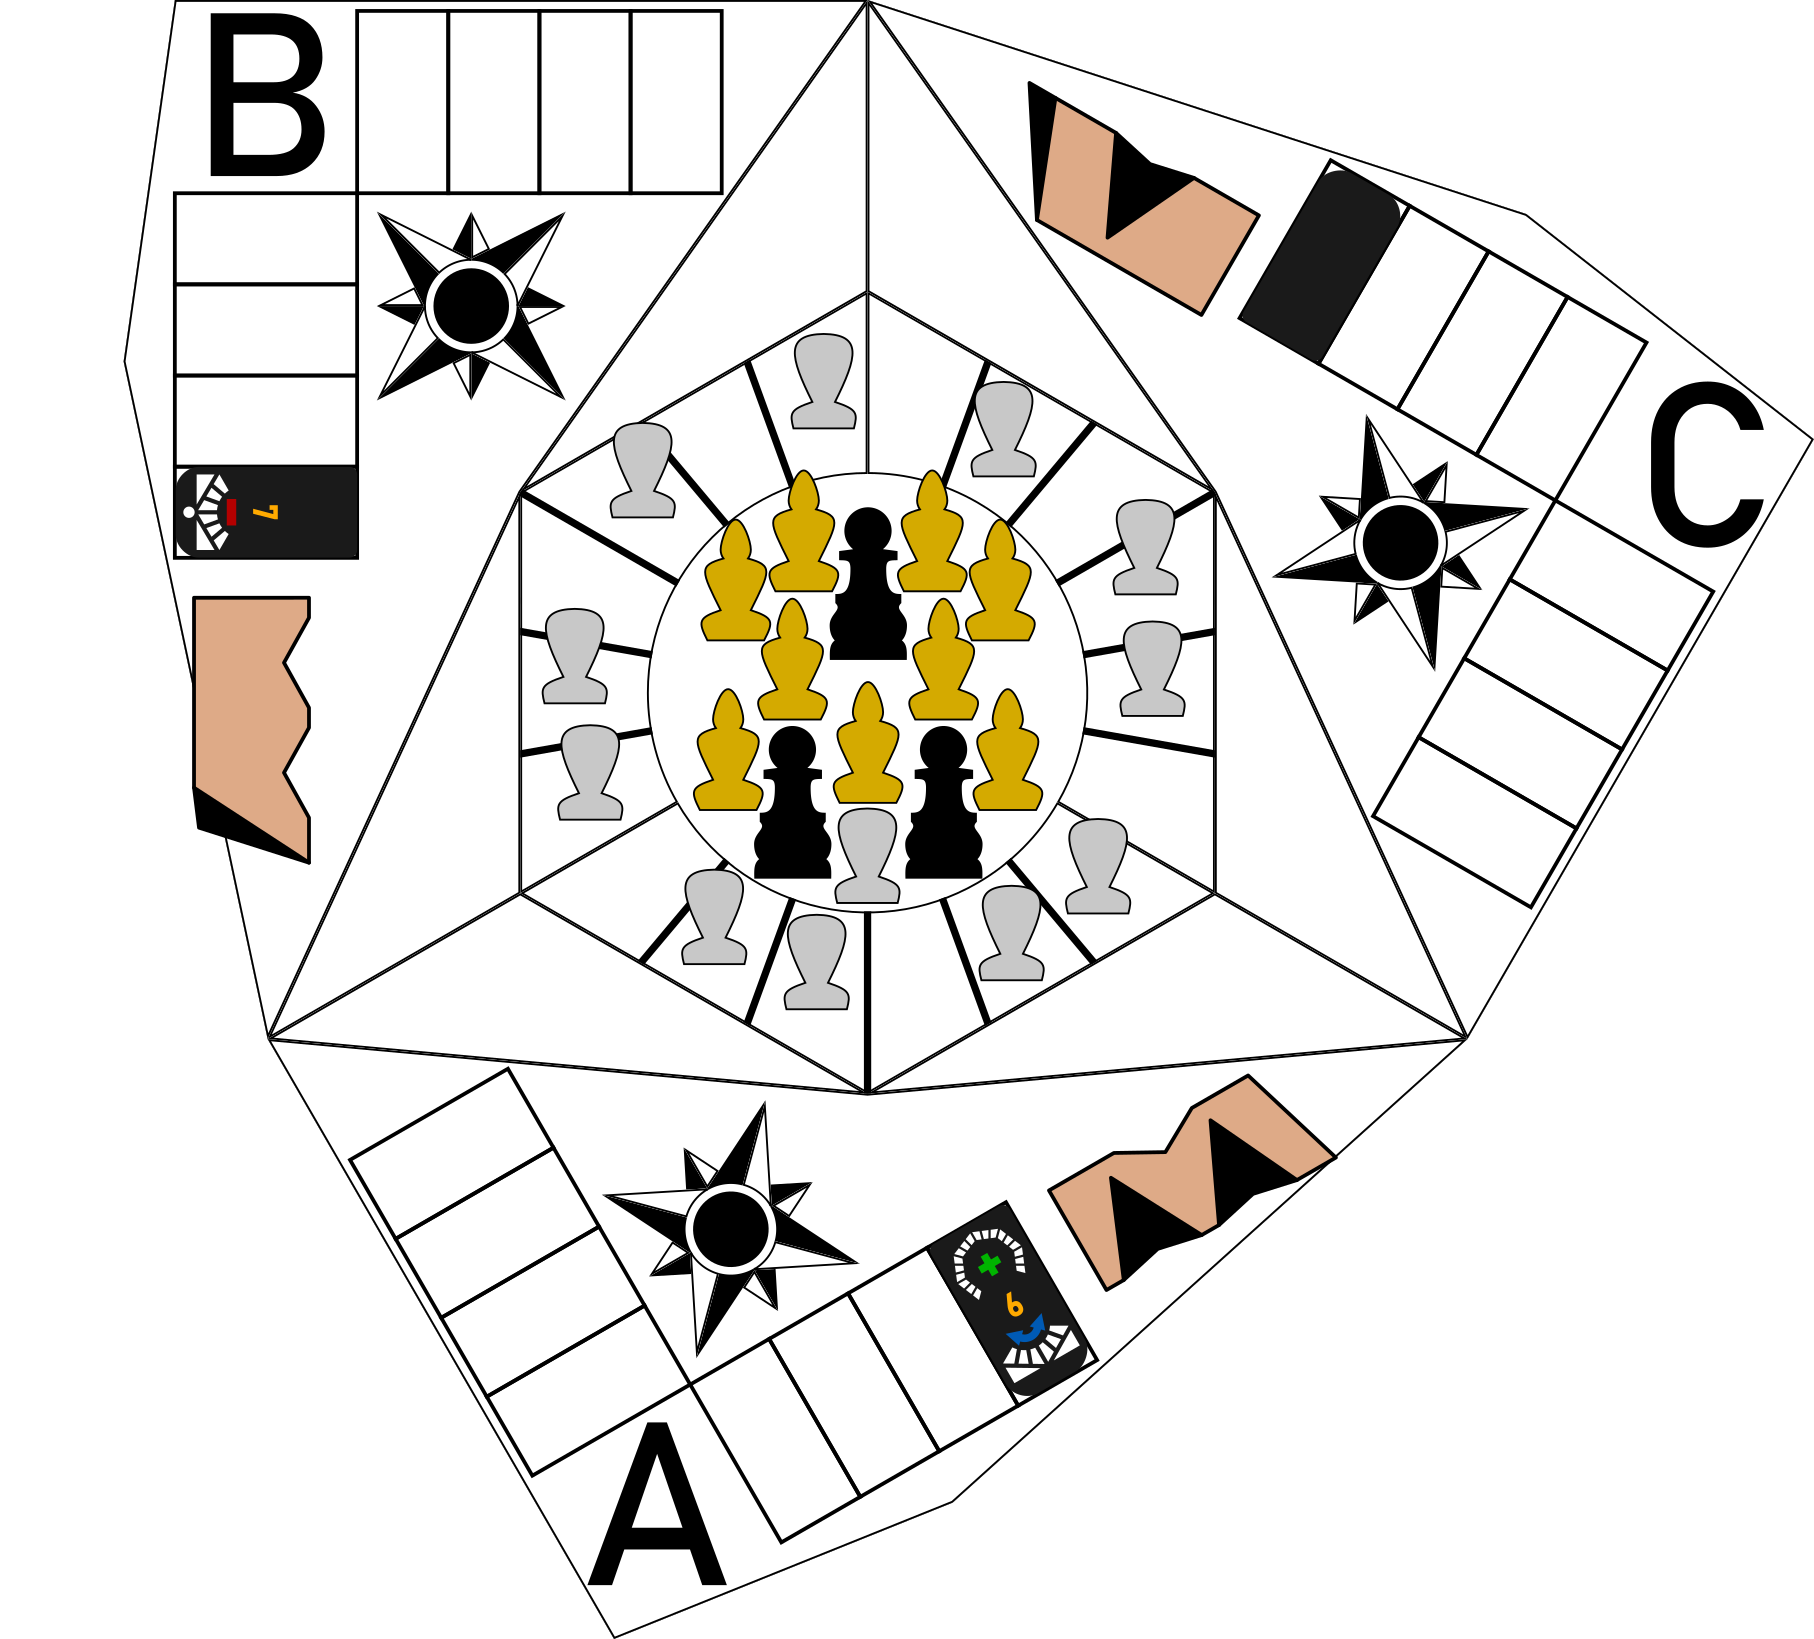
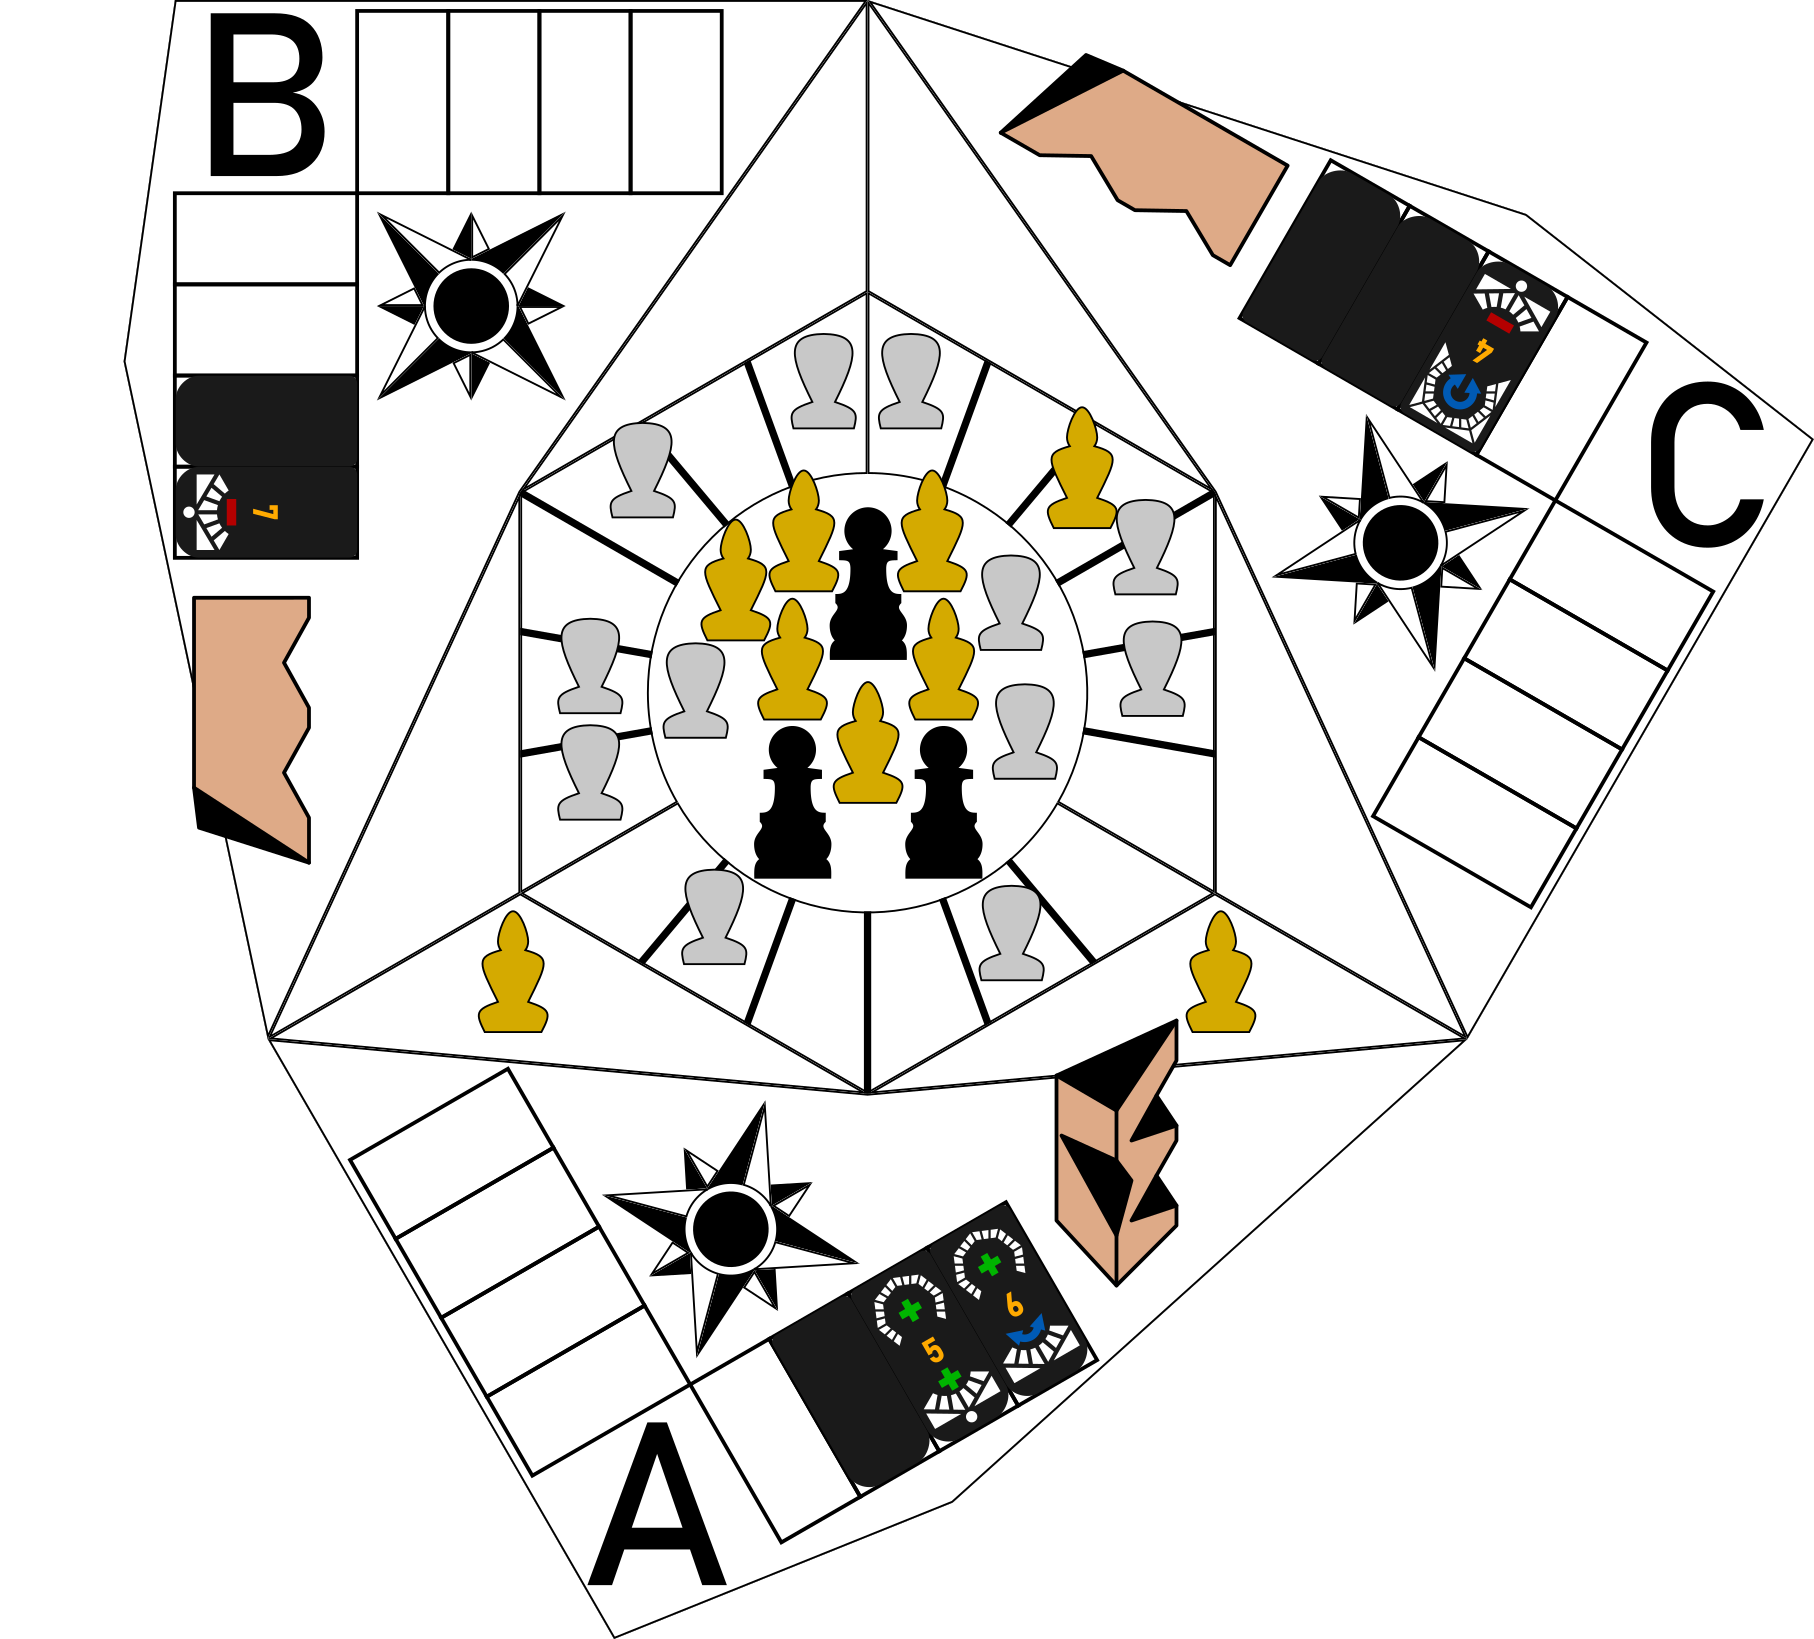
Move 2a

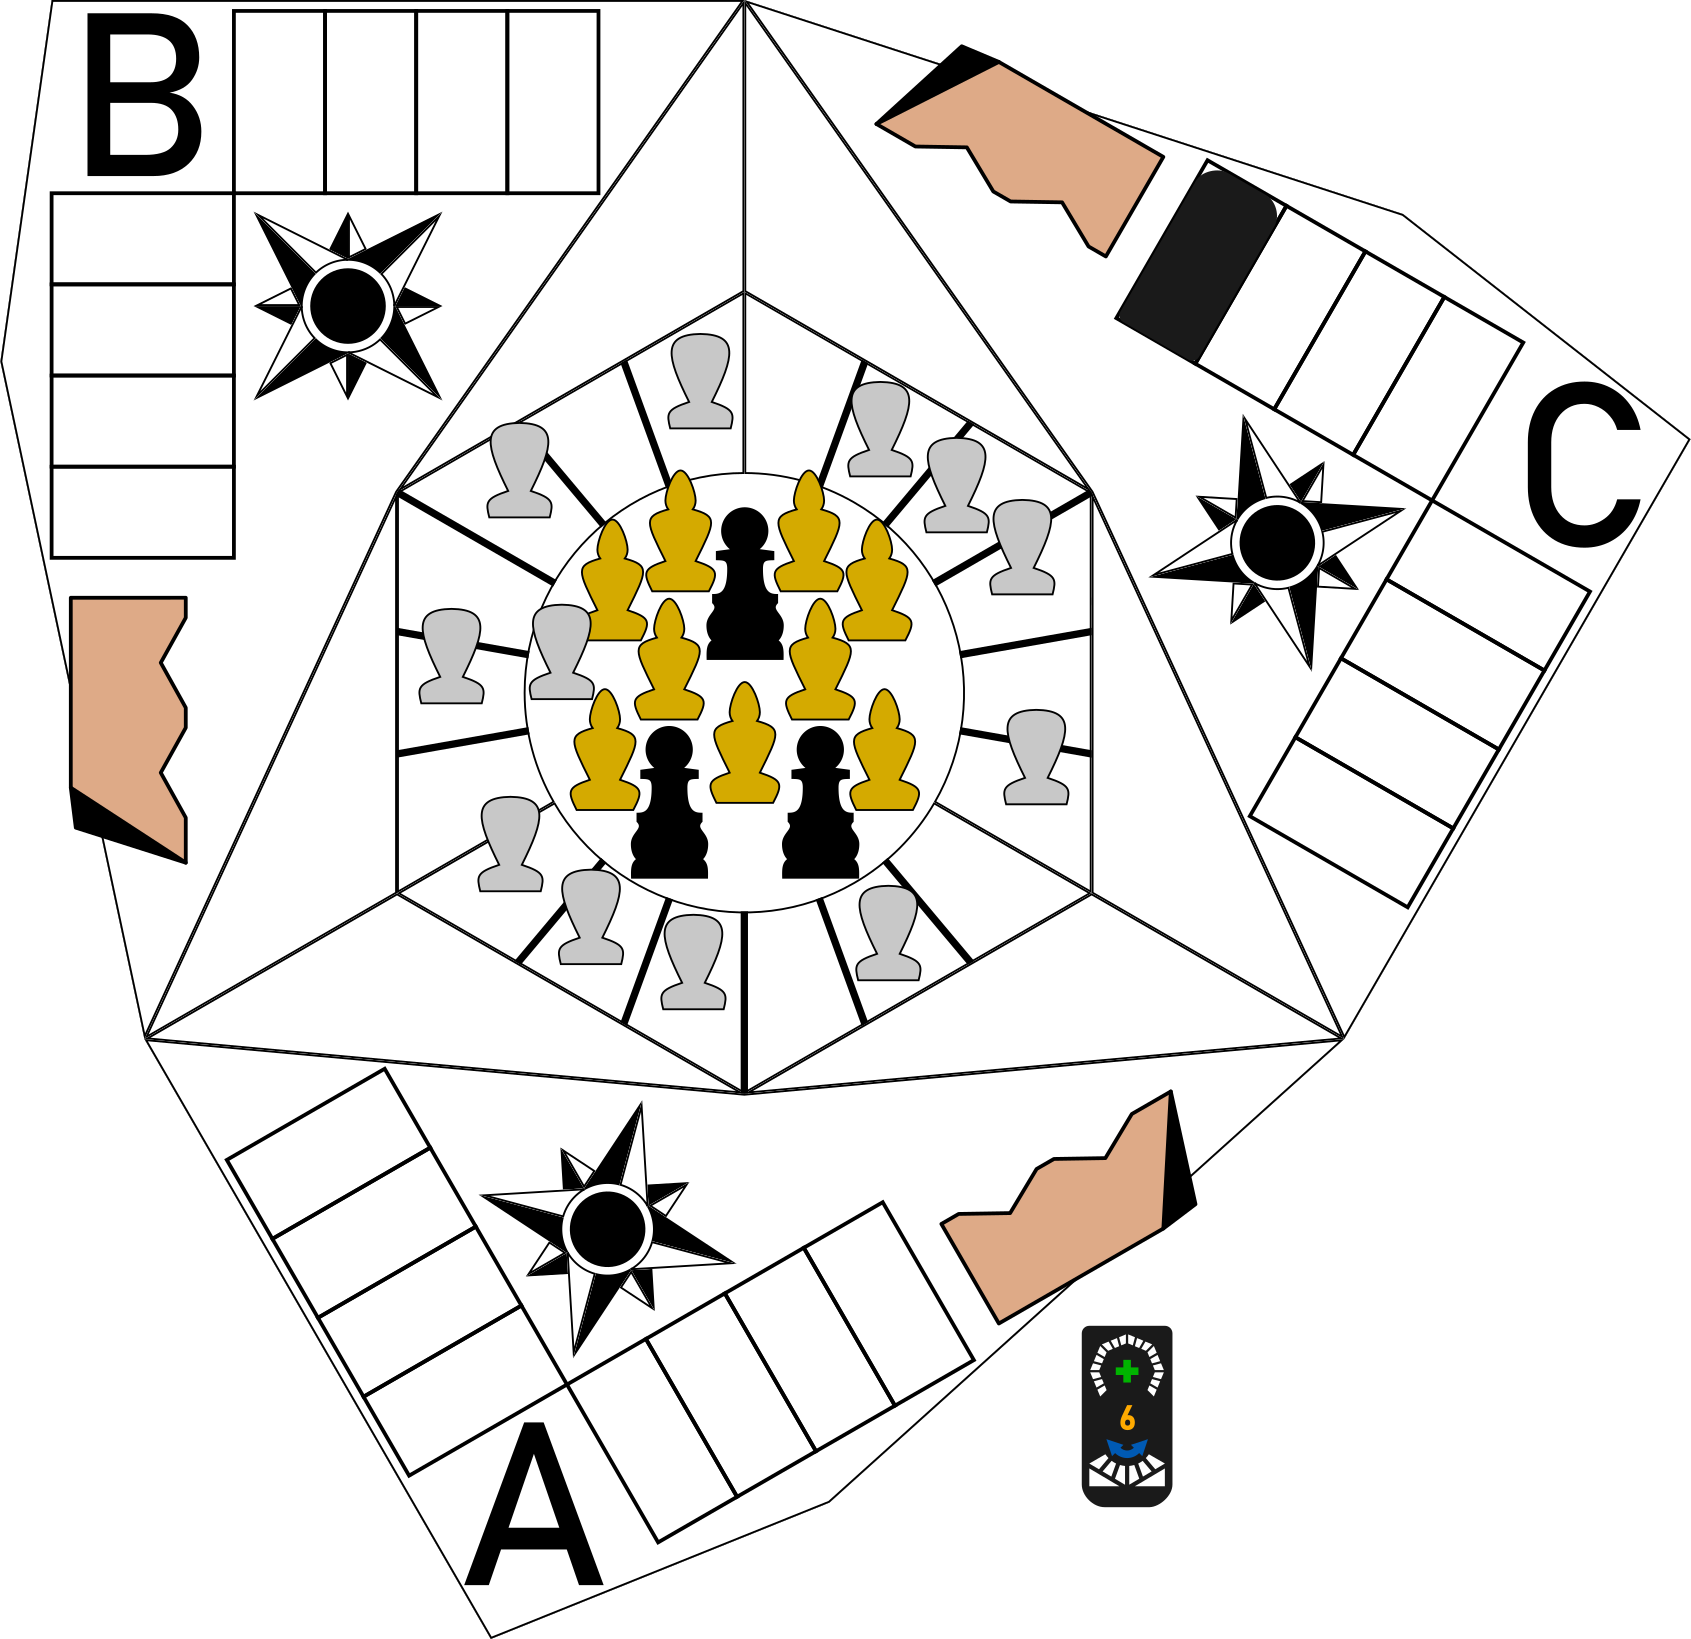
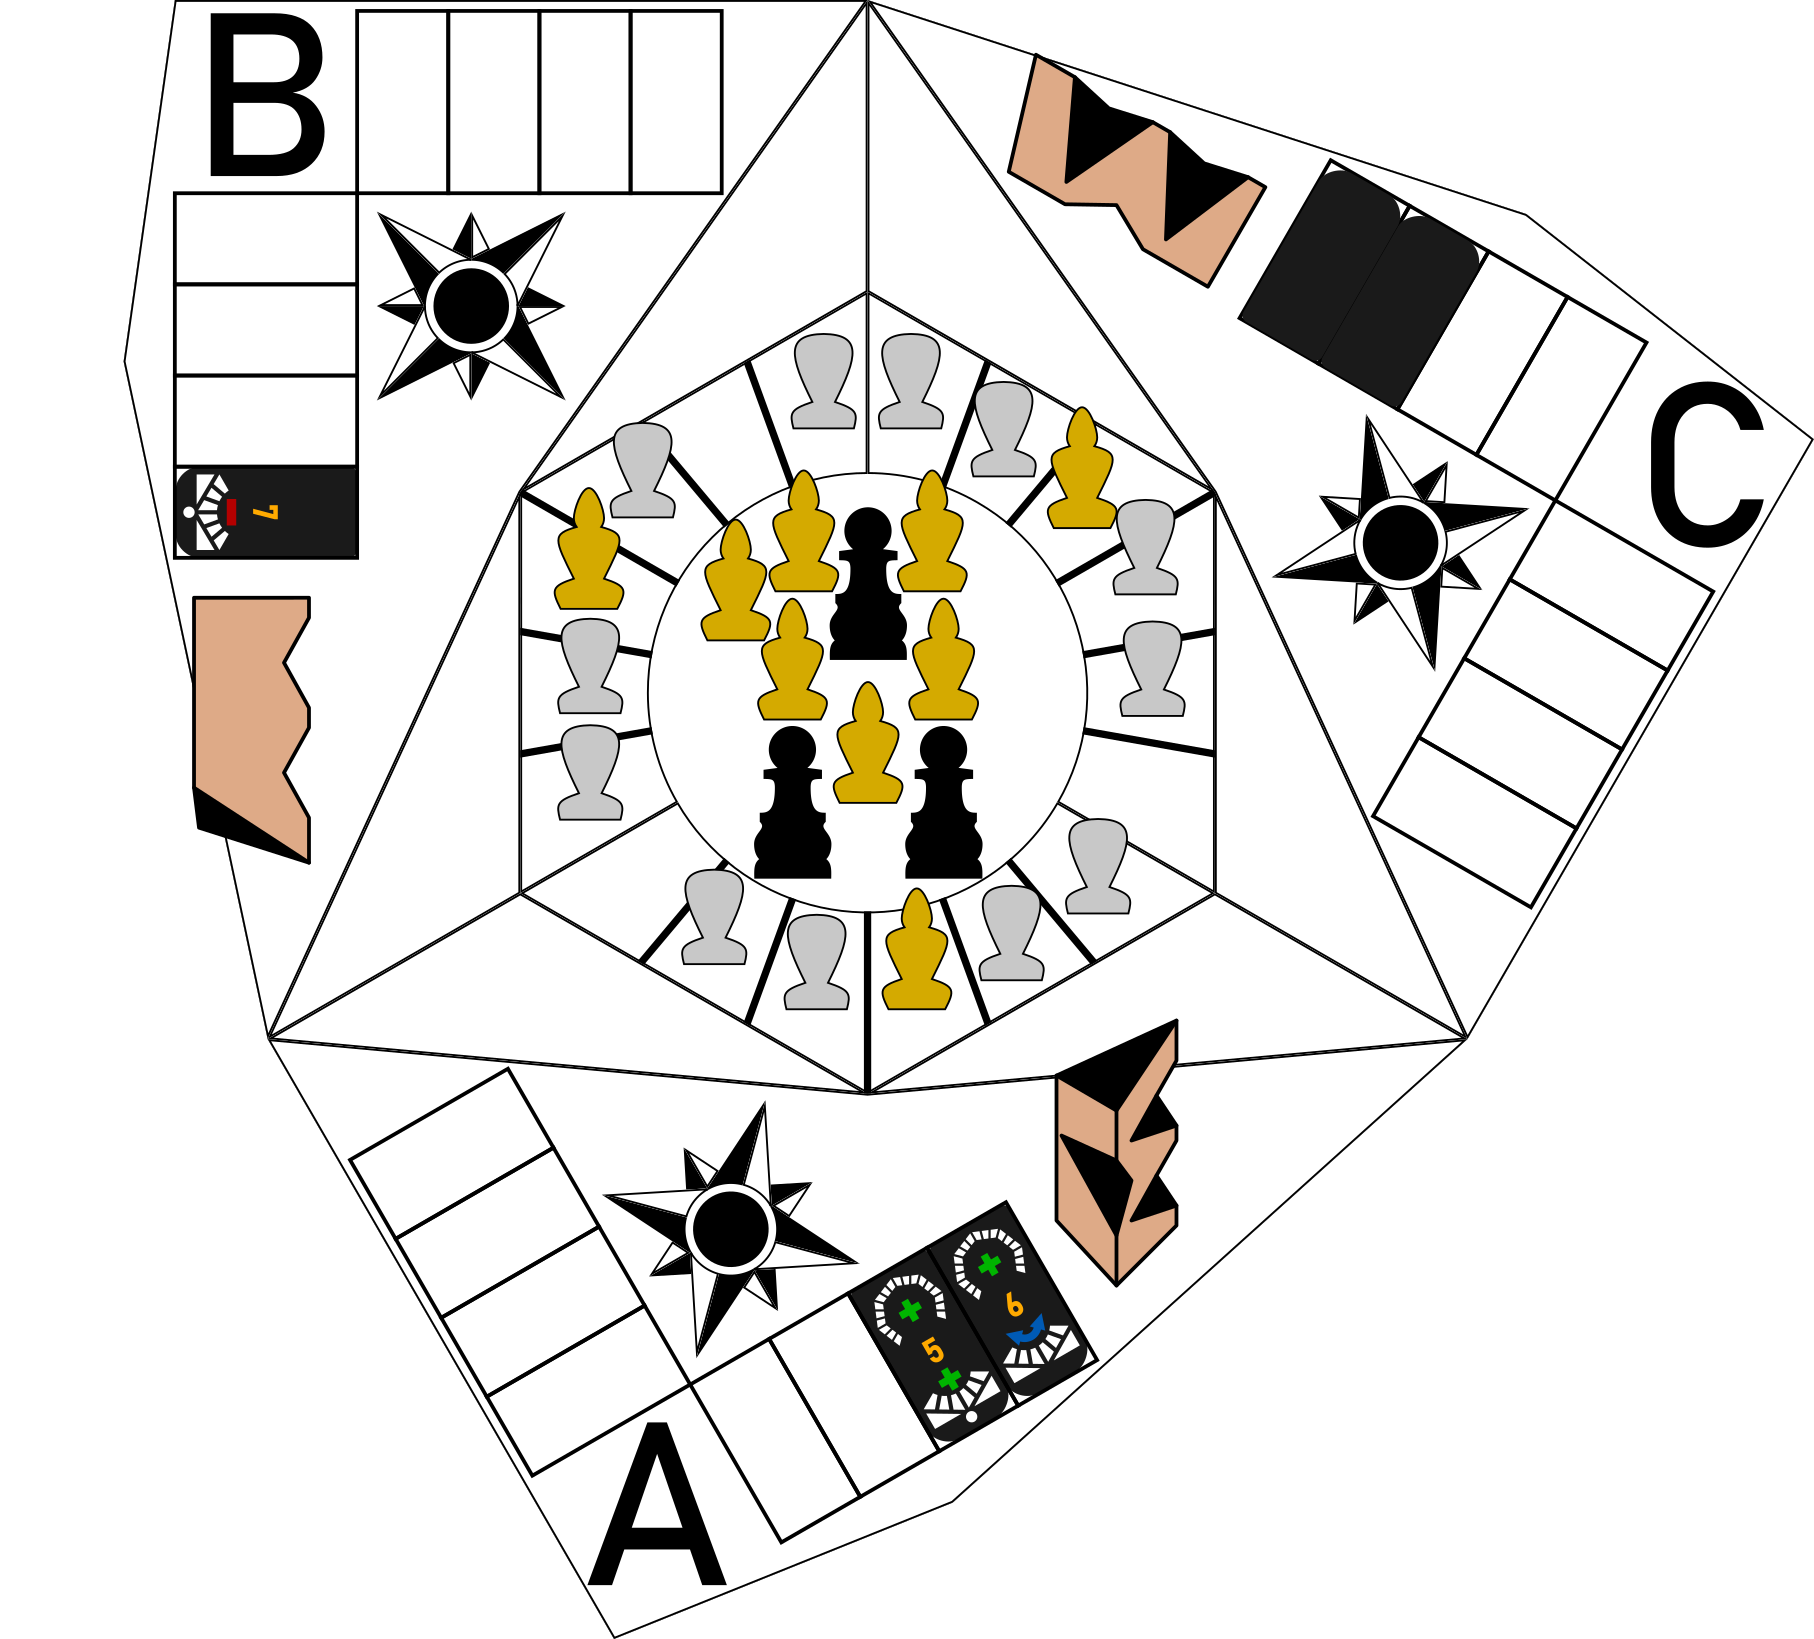
C advances a Mark to seat 4 and passes a tile to A. The tile shows assist not advance. A could get a free advance for blowing the whistle but opts to keep the funding.

Move 2a Illustration
Move 2b

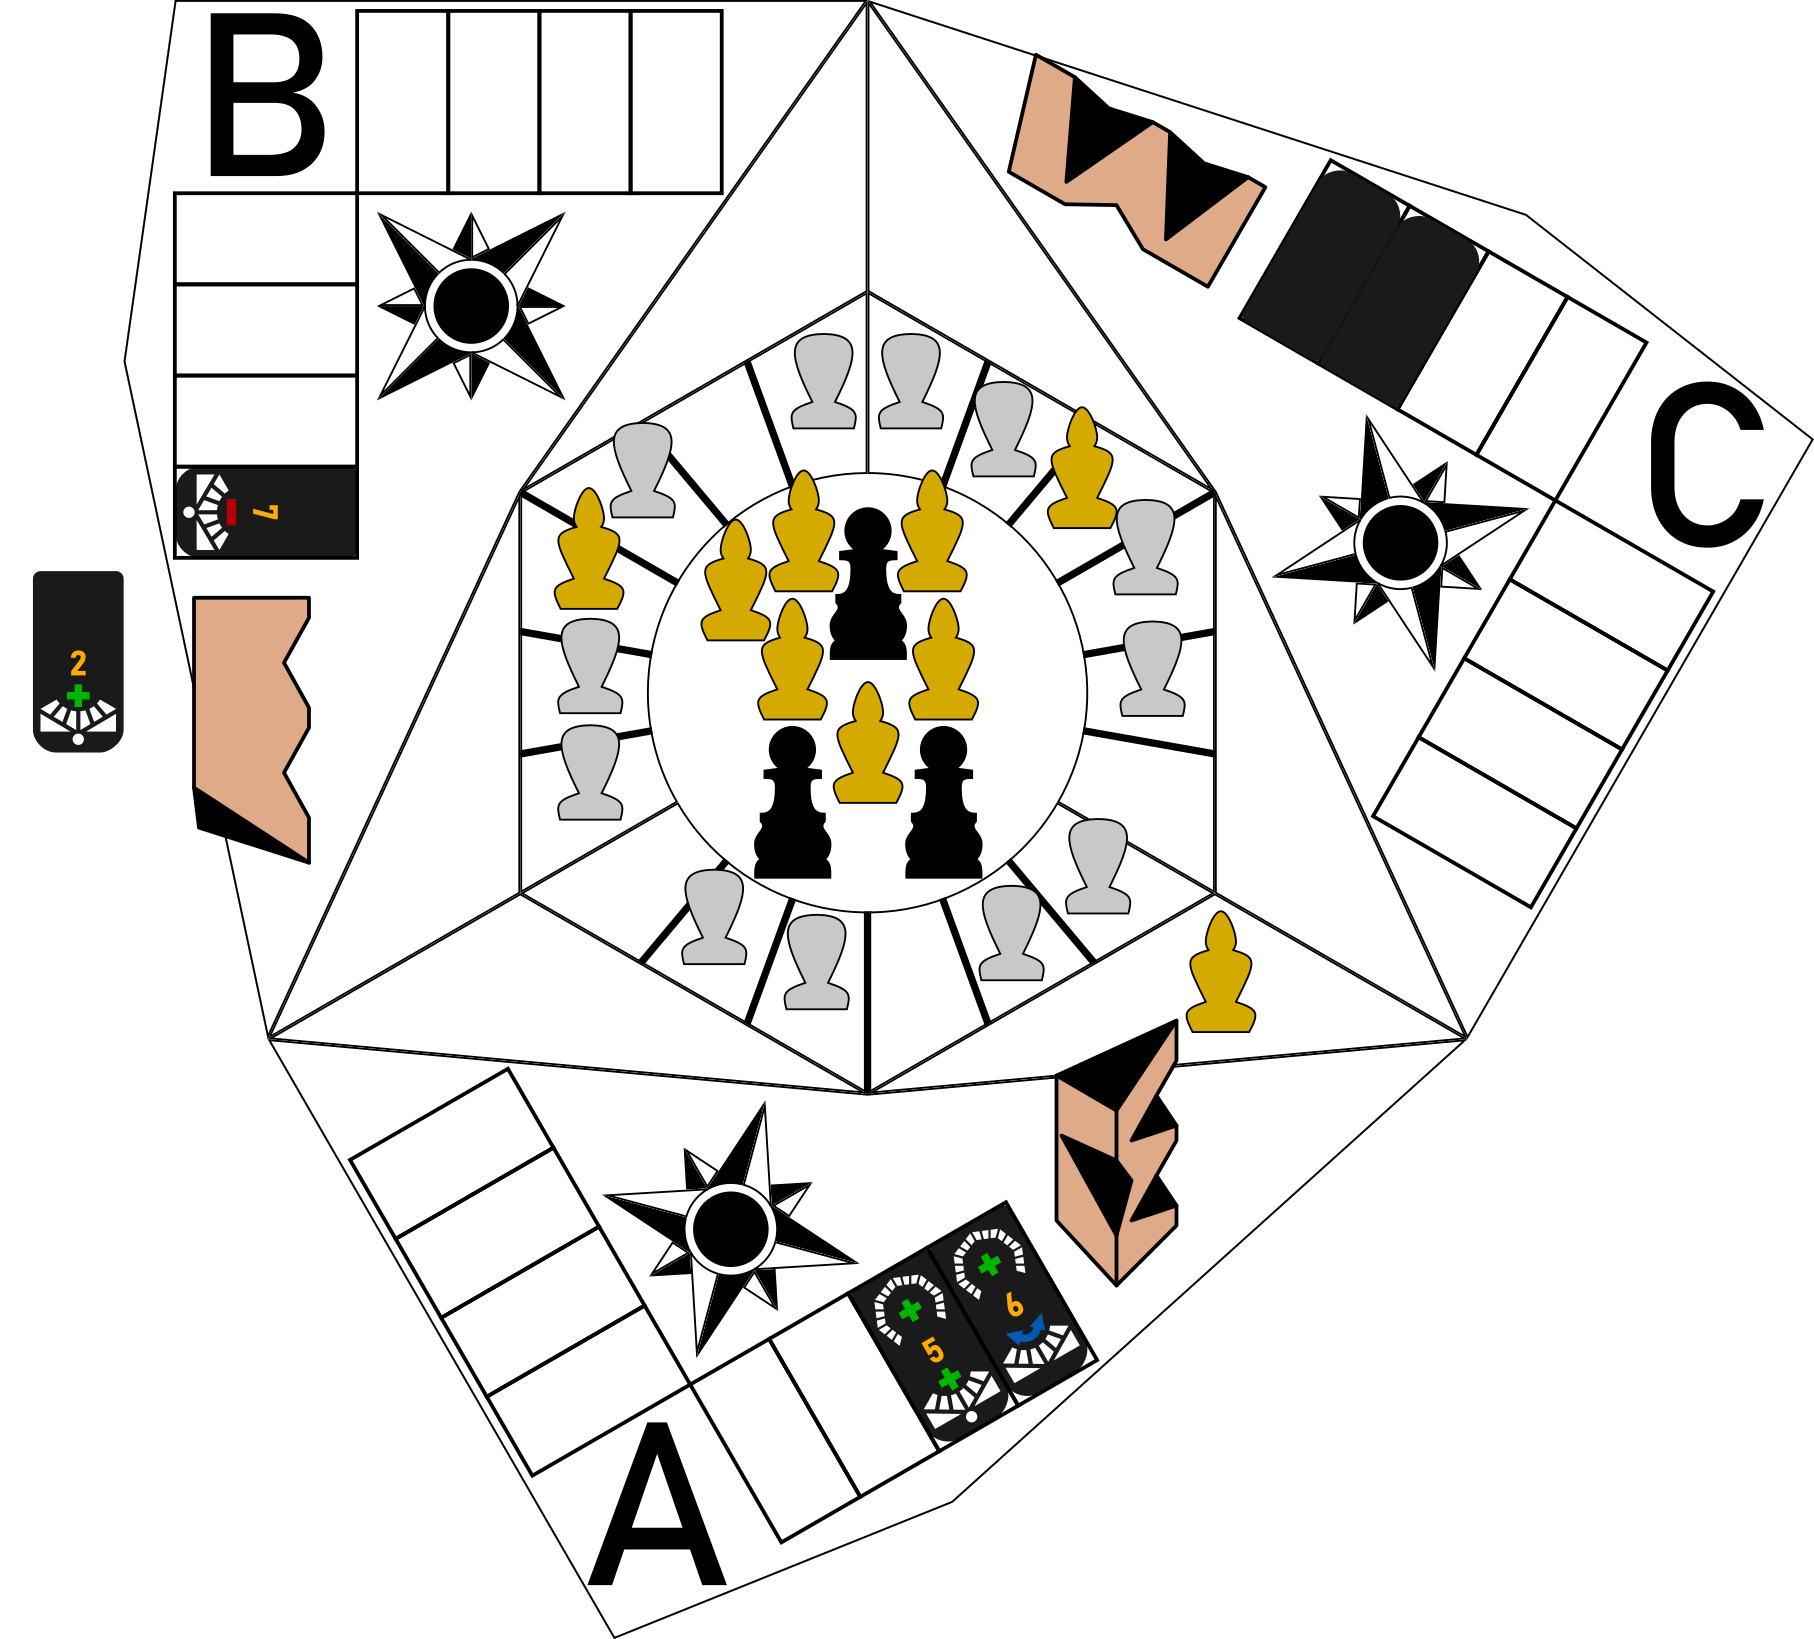
Unfortunately, B challenges and A must reveal the 'smoking gun'. A and C both lose credibility. C returns the Mark from seat 4, organizes from seat 1 to 2 and assists their accomplice A at seat 6.

Move 2b Illustration
Move 3a

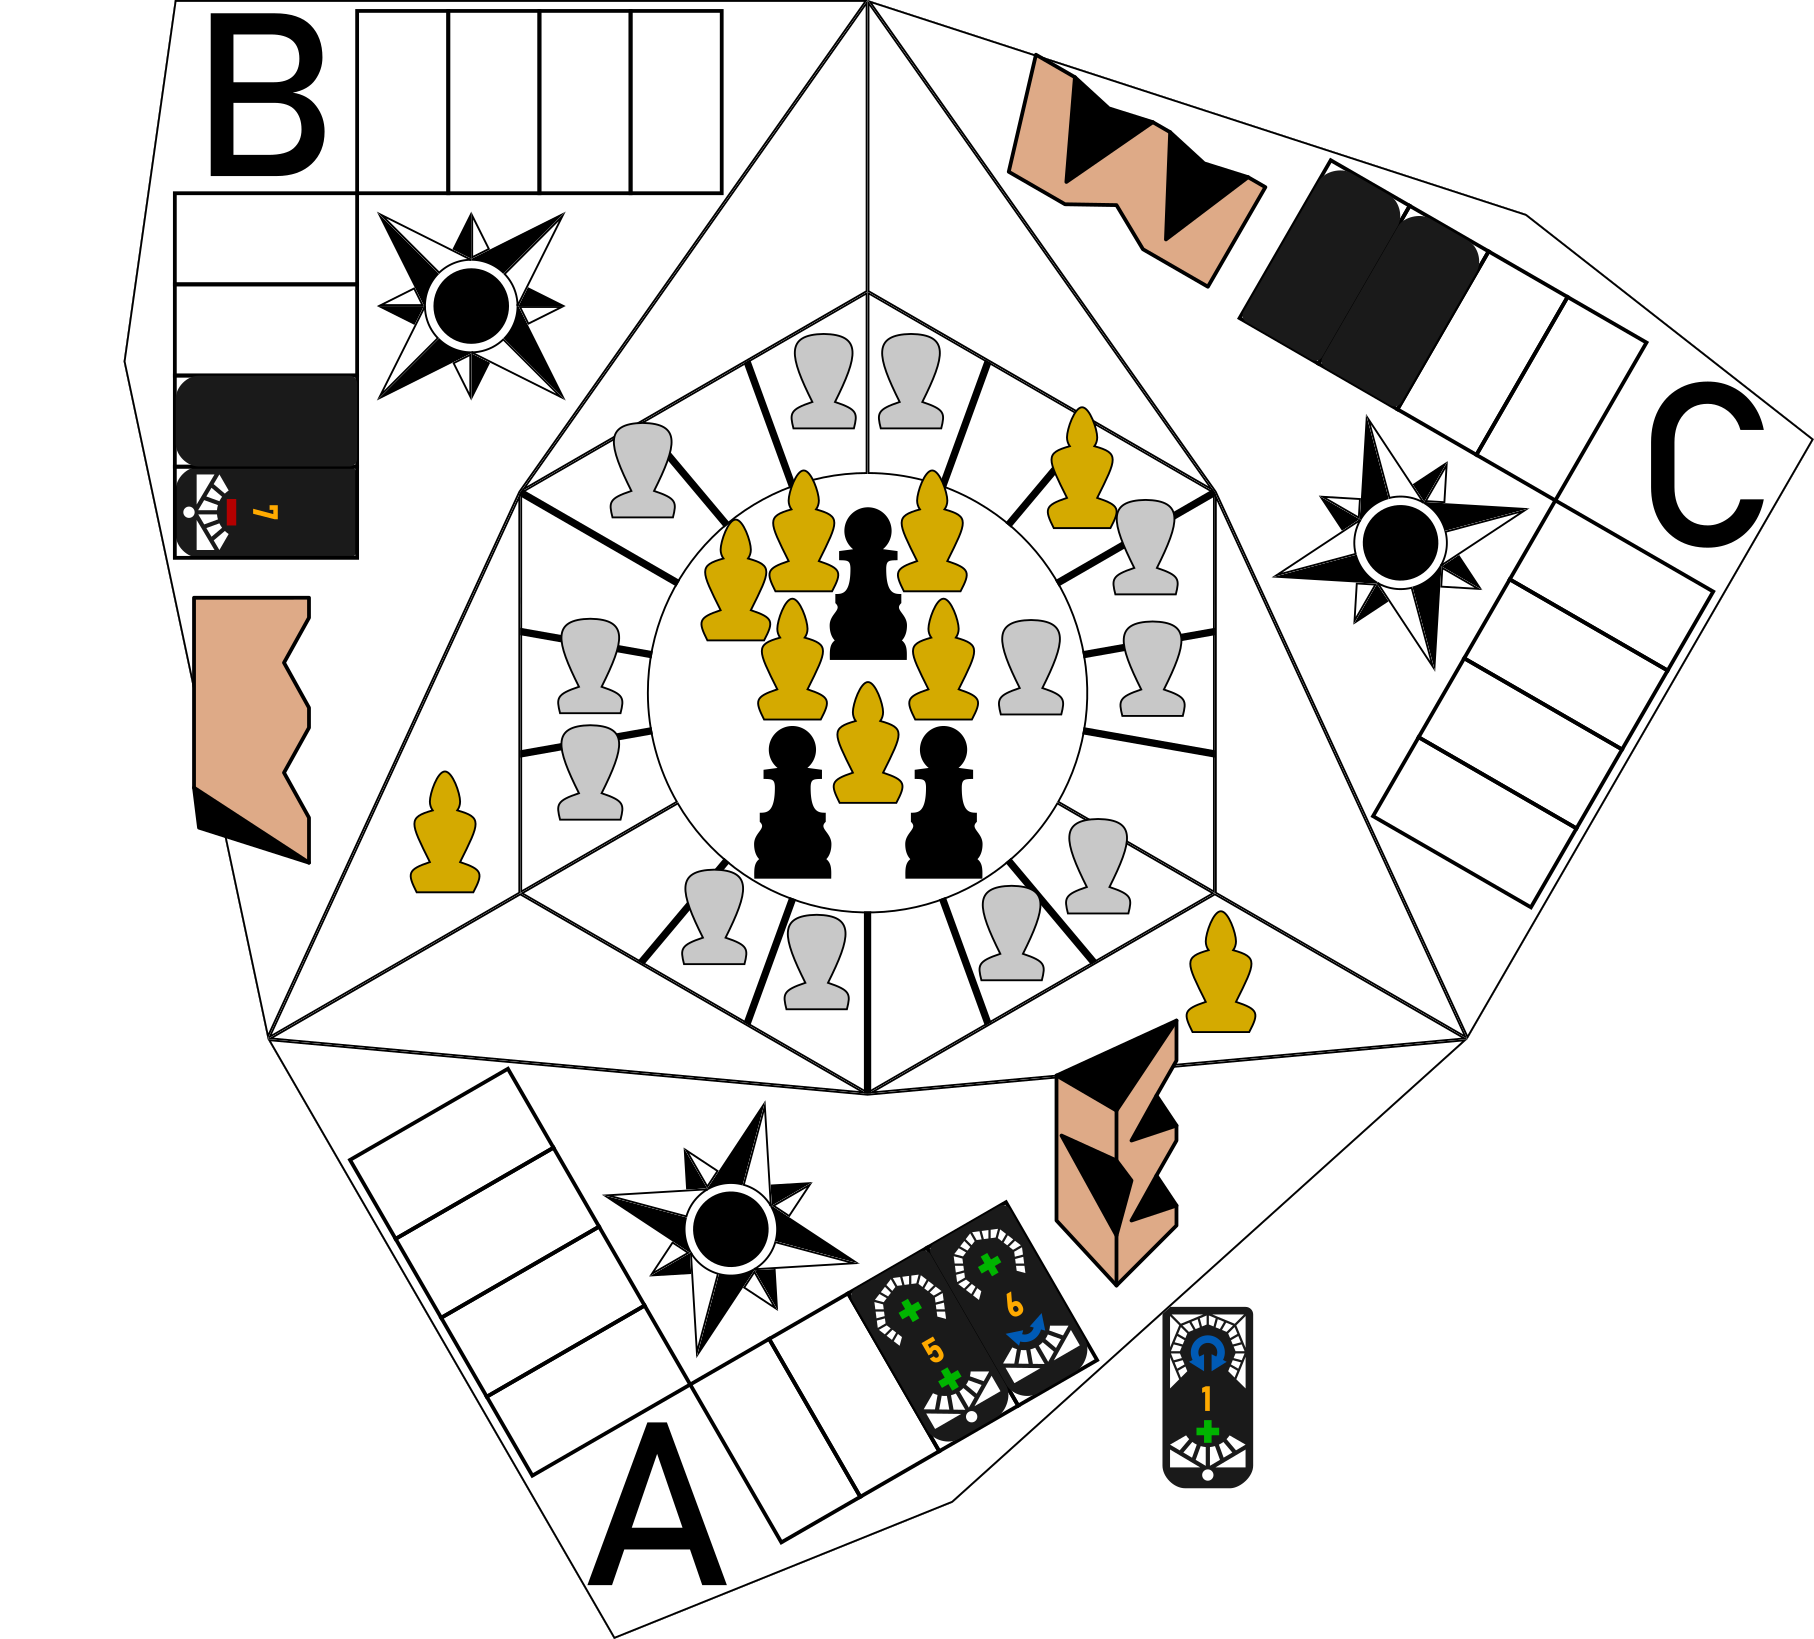
A advances their Mark in seat 1 to the rostrum and passes a tile to B assuming they will take the bribe.

Move 3a Illustration
Move 3b

Not so. B blows the whistle giving up 7 funding for a free advance
(as they have perfect credibility). A loses credibility and the Mark.

Move 3b Illustration
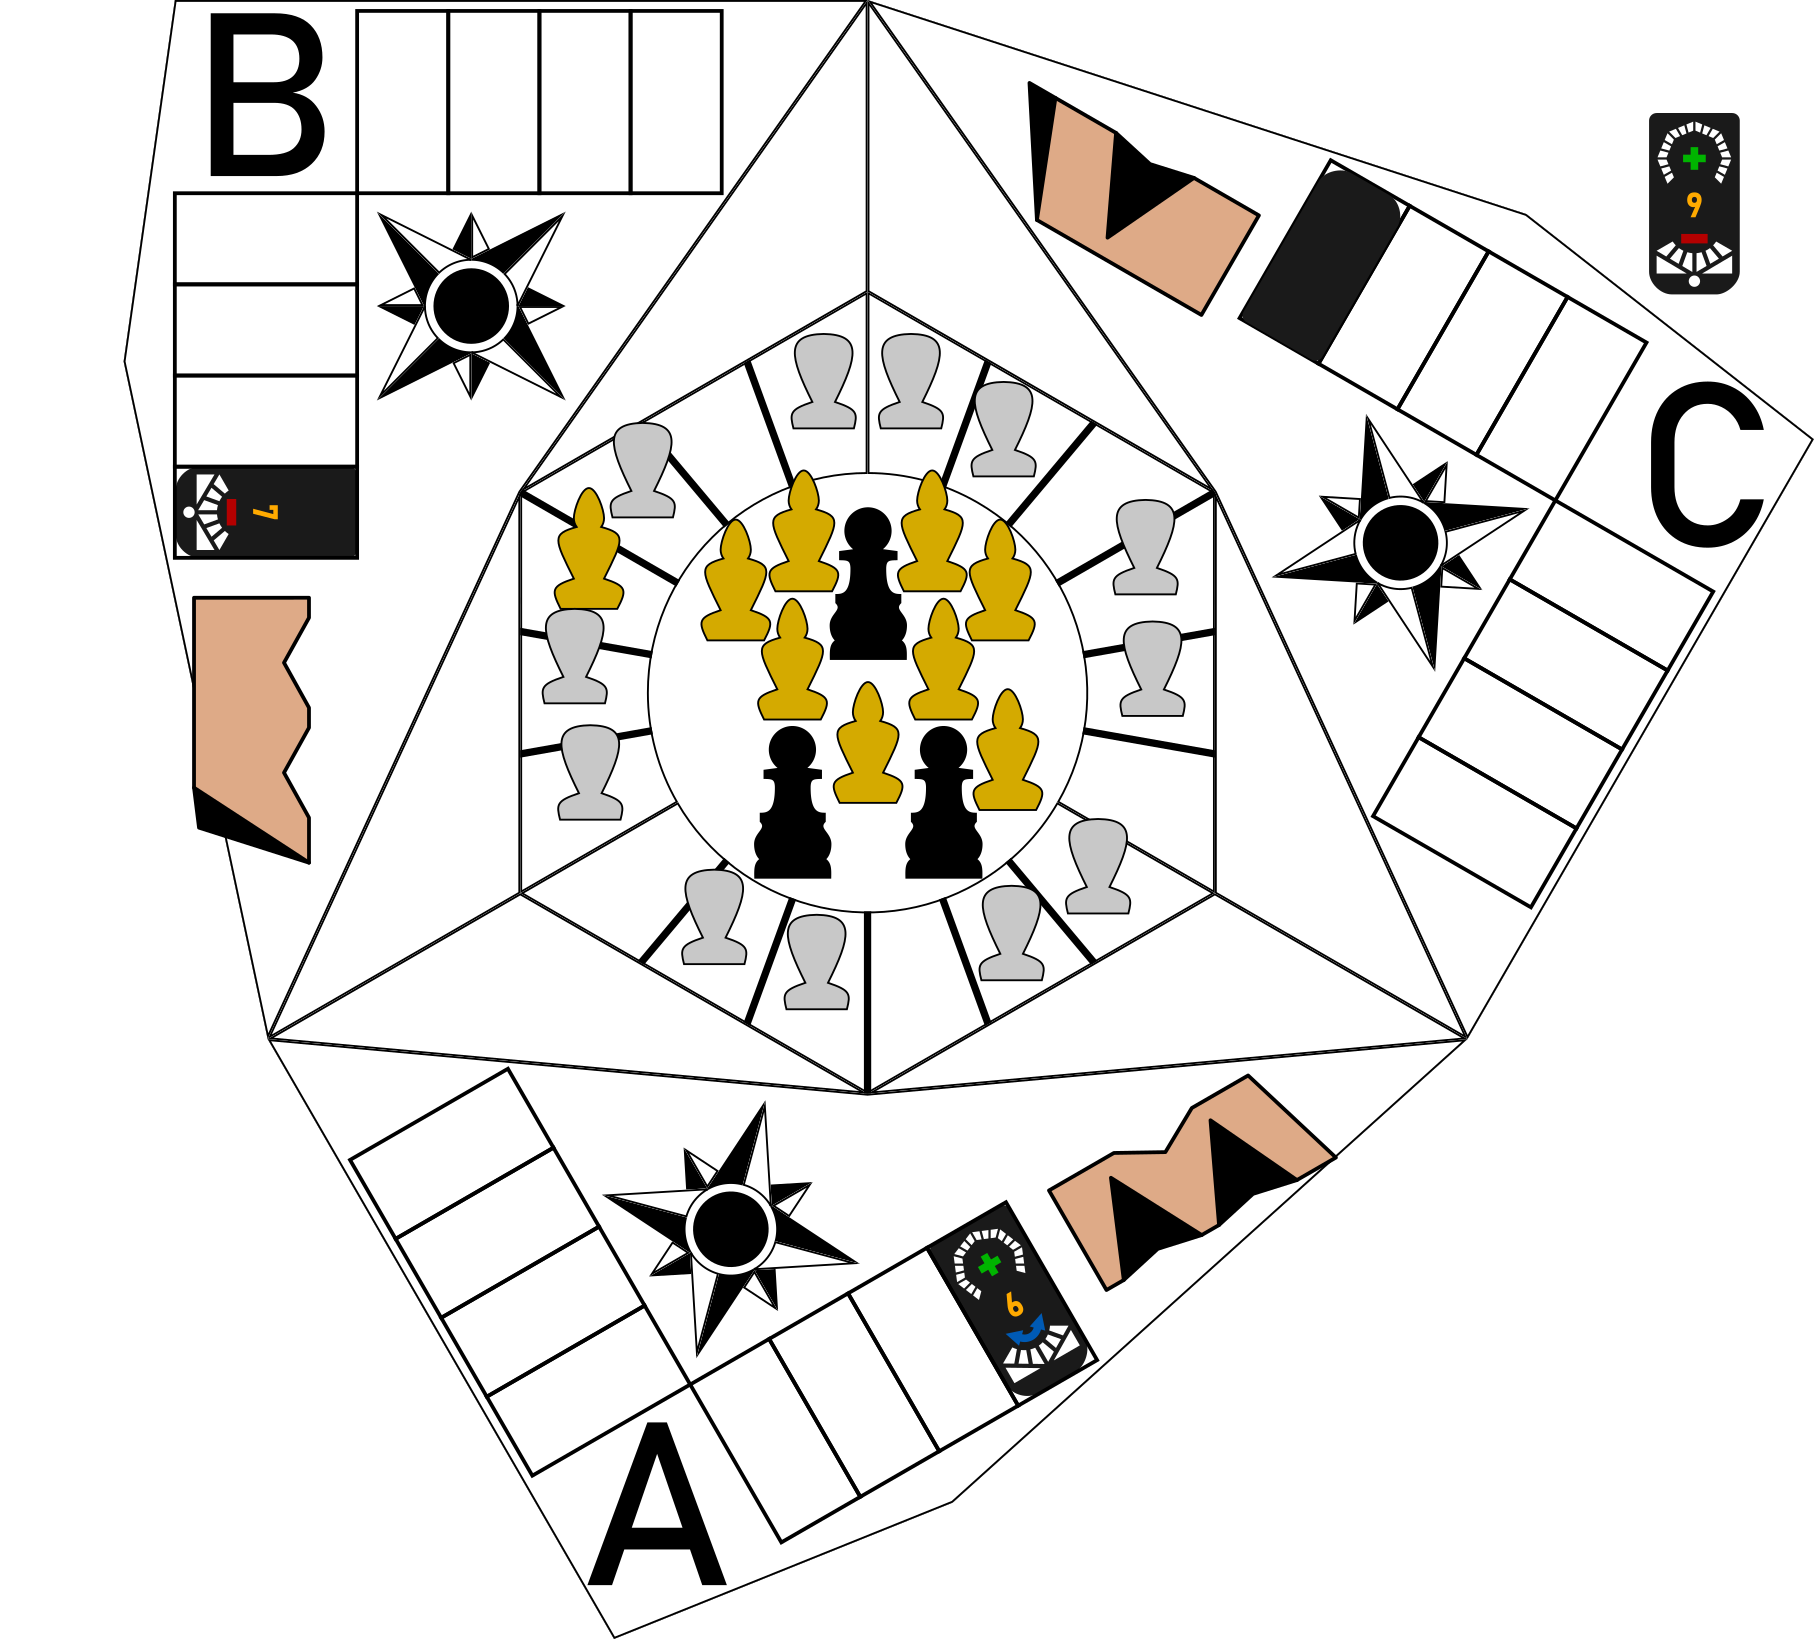
Move 4

B assists C, adding the last Mark to seat 6, advances a Heel to their own seat 4 and passes a tile to C. For a Mark and 9 funding, C doesn't complain. A doesn't risk making a challenge. Quiet is kept.

Move 4 Illustration
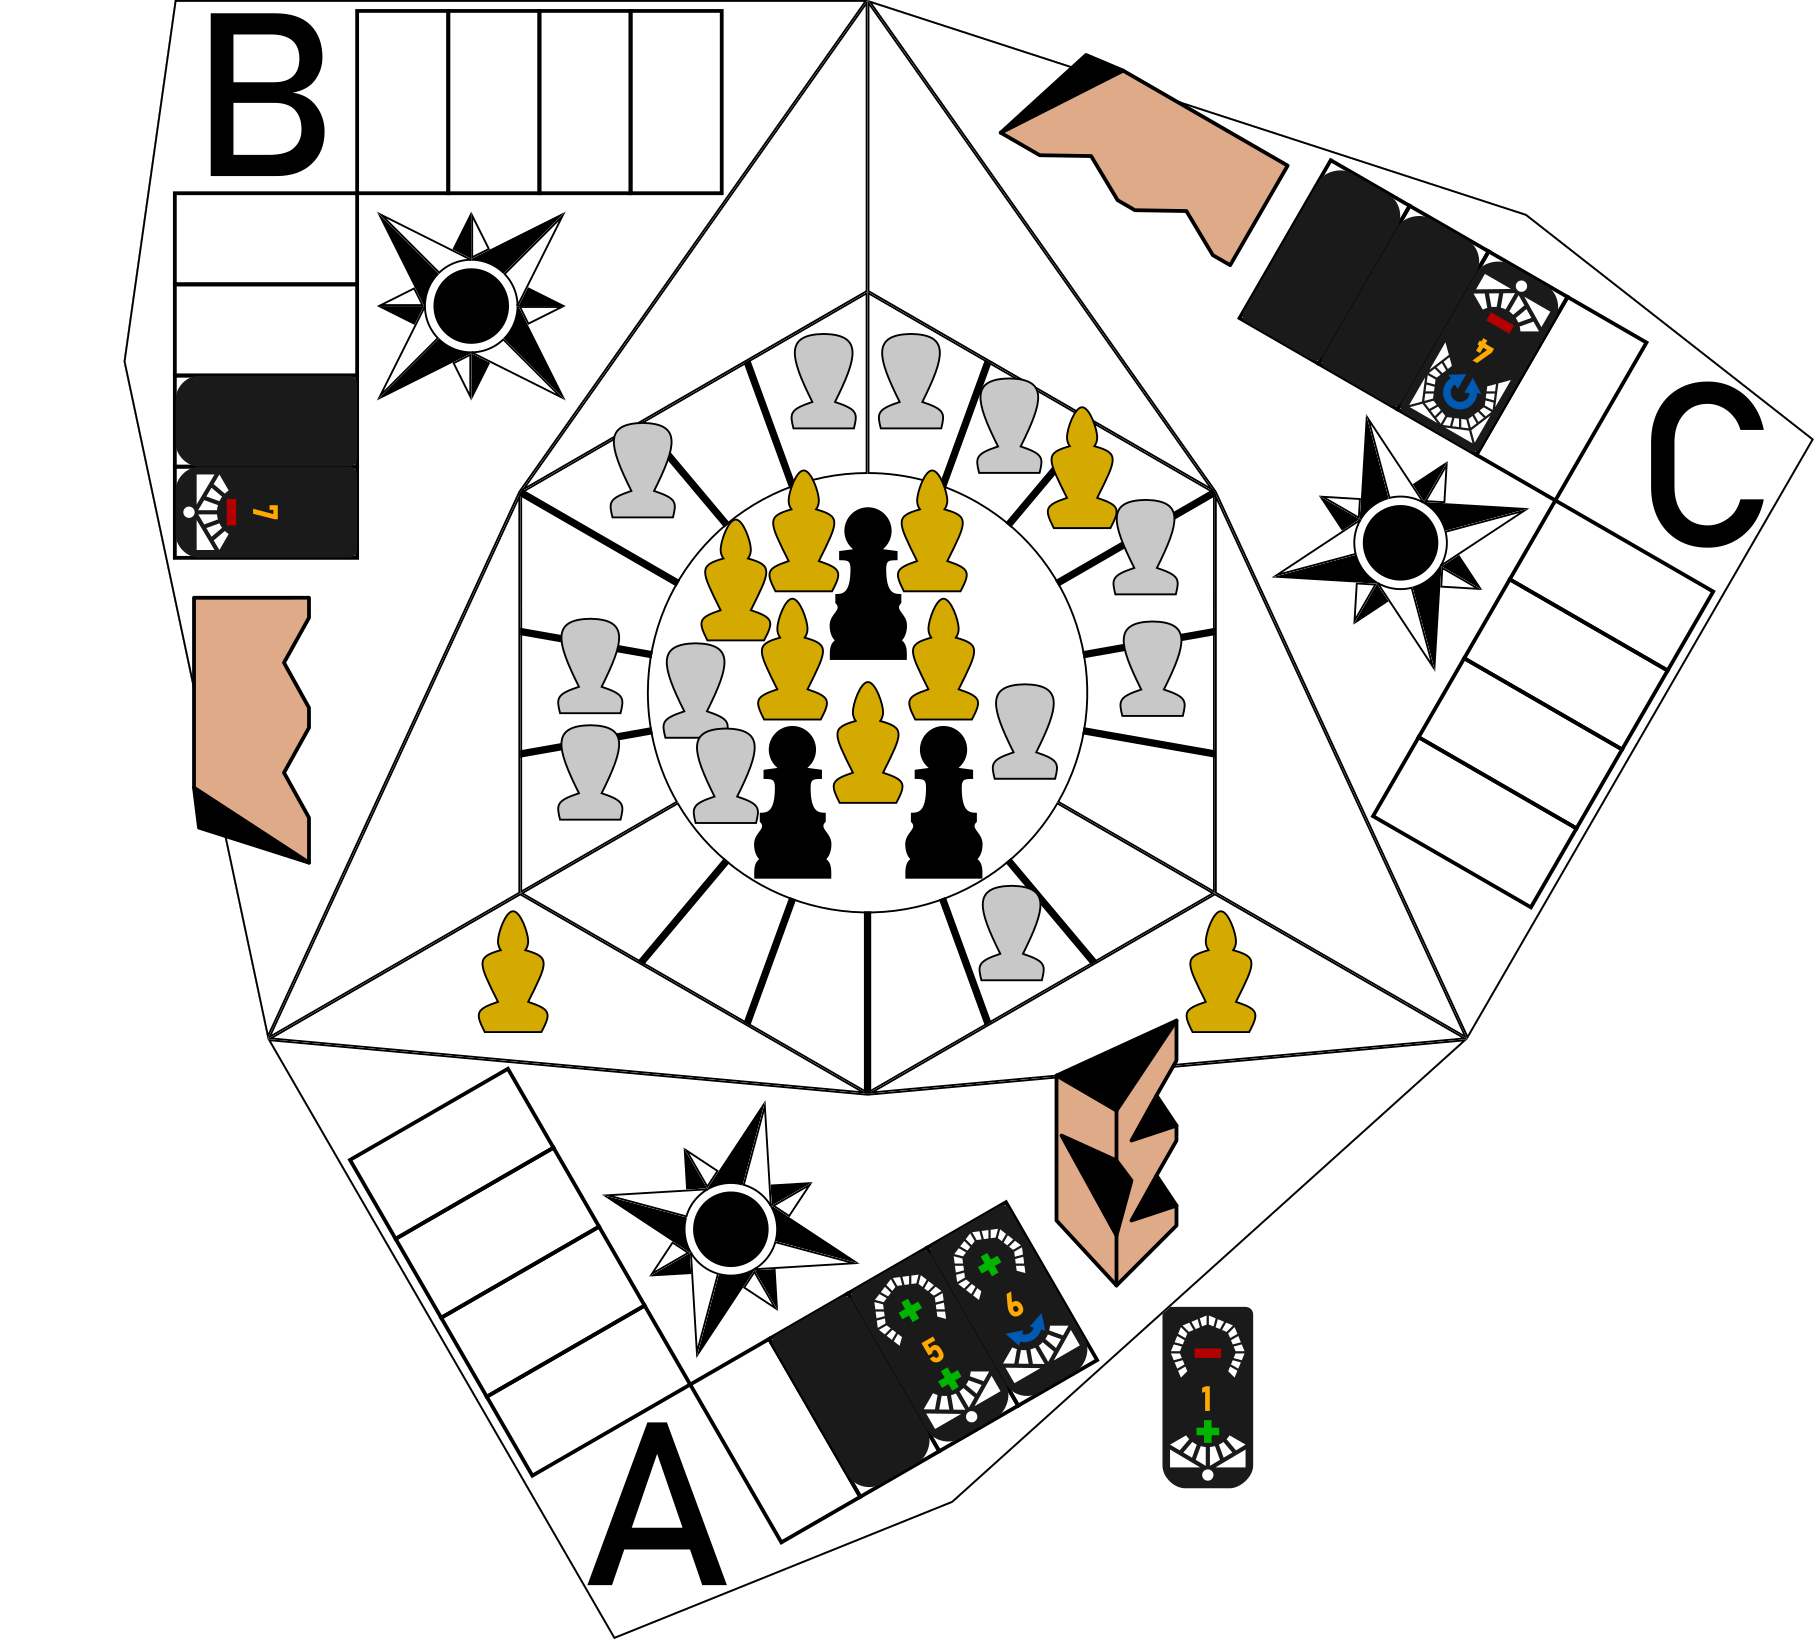
Move 5a

C adds a Heel to their seat 4, removes the Mark in B's seat 5 and passes a tile to A.

Move 5a Illustration
Move 5b
This really would be a good time for A to blow the whistle. However, they don't want to lose the funding and, if the tile is played honestly, BOTH of their opponents would be
Move 5b Illustration
in a better position. A accepts. B doesn't. Thus, A loses the funding along with ALL credibility. C also takes a second notch. C returns B's Mark and assists A with a Heel to seat 4.
Move 6

A advances the Heel in seat 4 to the rostrum and passes the matching tile to B. B and C accept.

Move 6 Illustration
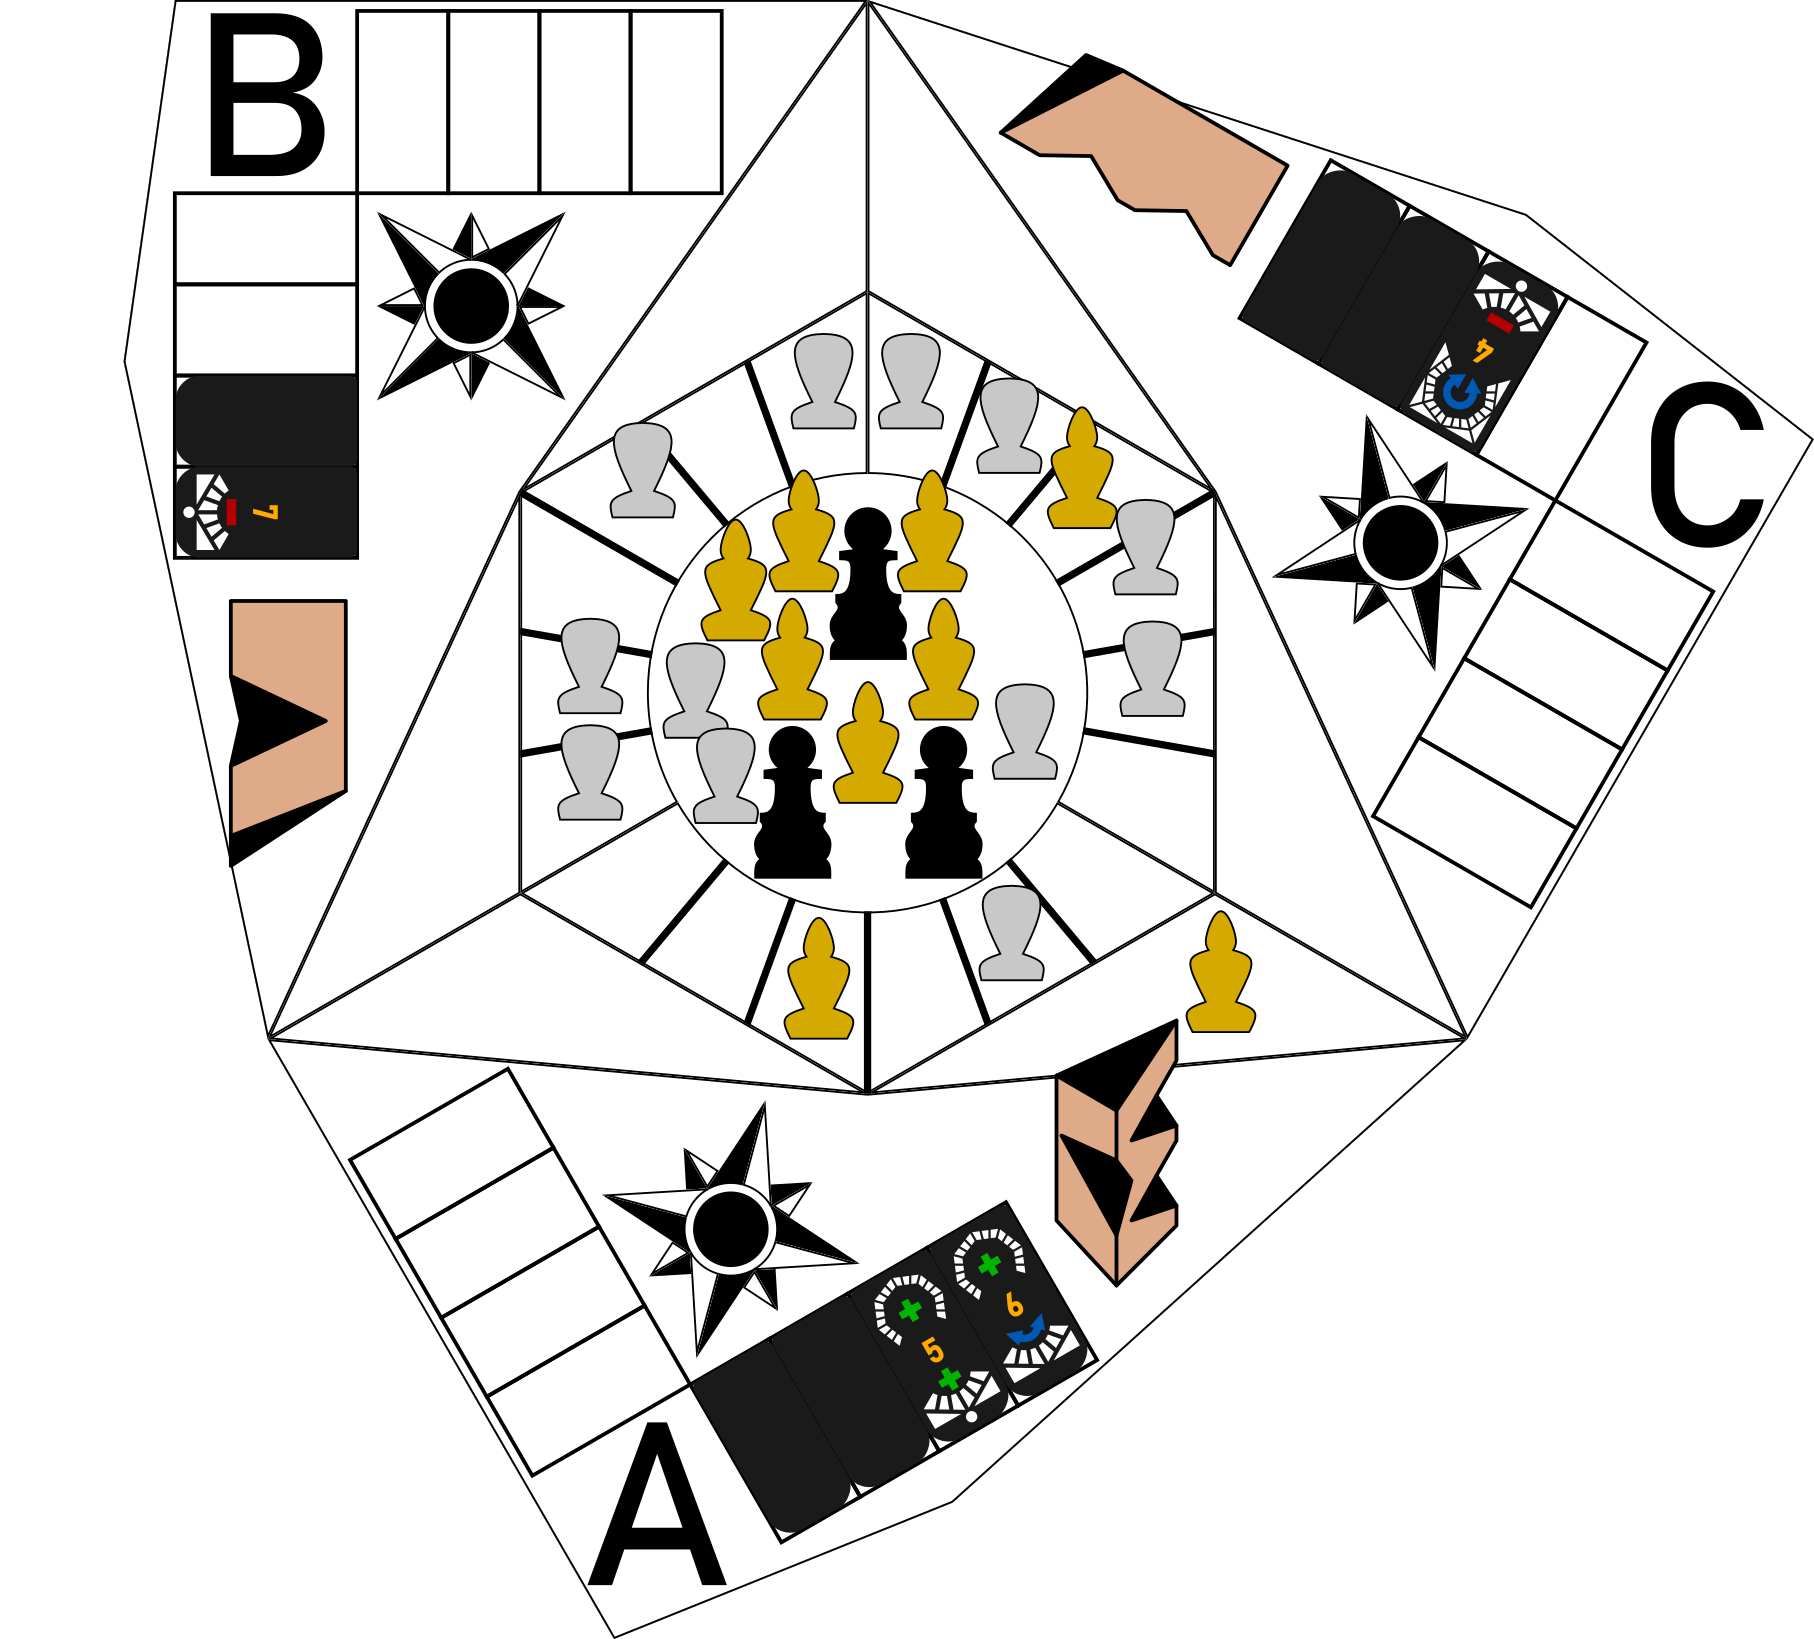
Move 7

B advances their Heel in seat 4 to the rostrum, removes C's Mark from seat 5 and passes a tile to A. A cannot refuse as they cannot even look at the tile. C doesn't risk challenging.

Move 7 Illustration
Move 8a

A influences the Heel in B's rostrum to their own rostrum
and passes a tile to C.

Move 8a Illustration
Move 8b
C notices that, for whatever reason, A did not take the withdraw action shown on the tile: a grave mistake. C will be happy to give up a paltry 4 funding to restore TWO notches
Move 8b Illustration
on their credibility. And now A must take a SECOND withdraw action since they were caught making a dishonest play with NO credibility.
Move 9a

C removes the last Mark supporting the Heel in A's rostrum, advances a Mark to their own seat 5 and passes a tile to A.

Move 9a Illustration
Move 9b
This adds insult to injury as A must now withdraw the Heel down to a seat and has no way of knowing if C's move was even honest. However, there's a glimmer of hope as
Move 9b Illustration
B challenges because, if the Heel stays in the rostrum, there's a chance B could influence it back into their own domain. Alas, it was only a witch hunt and B's slander will earn them a notch on their hitherto impeccable credibility.